
It’s that time again for the joys of baking and the glorious cookies it brings. The perks of being in the kitchen. So many things to bake this month. We will worry about calories another month … right?!This is a sugar cookie recipe I make every Chanukah. It’s my youngest sons’ favorite cookies, mine too. We both love sugar cookies. Okay, I really haven’t met a cookie I didn’t like, neither have they (!) but for Chanukah, we bake sugar cookies. 🙂
I would usually bring cookies to my younger three boys’ holiday class parties (they all go to different schools). Since my teenager is now in the eighth grade and would be utterly embarrassed, I don’t bring them to his school anymore, but do still bring cookies to my twin boys’ holiday parties who are very happy to see Mom come with sugar cookies. “Cookies! Me want cookies!!”
I make cookies throughout the year, but not many iced sugar cookies. I save “dressed up” cookies for Chanukah. It takes time yes (and patience for sure), but they are certainly worth it. Safe for my children to eat, without any strange ingredients, and so much fun to eat!
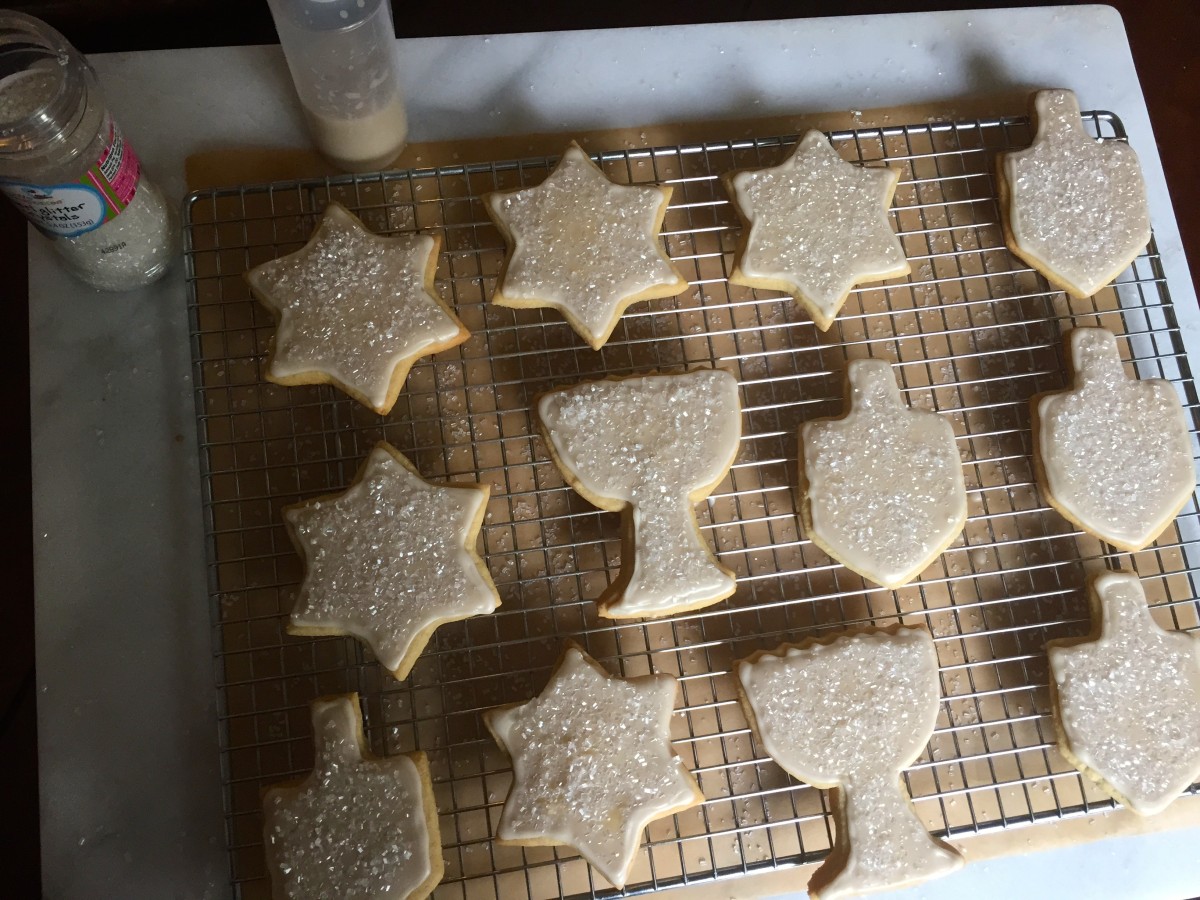
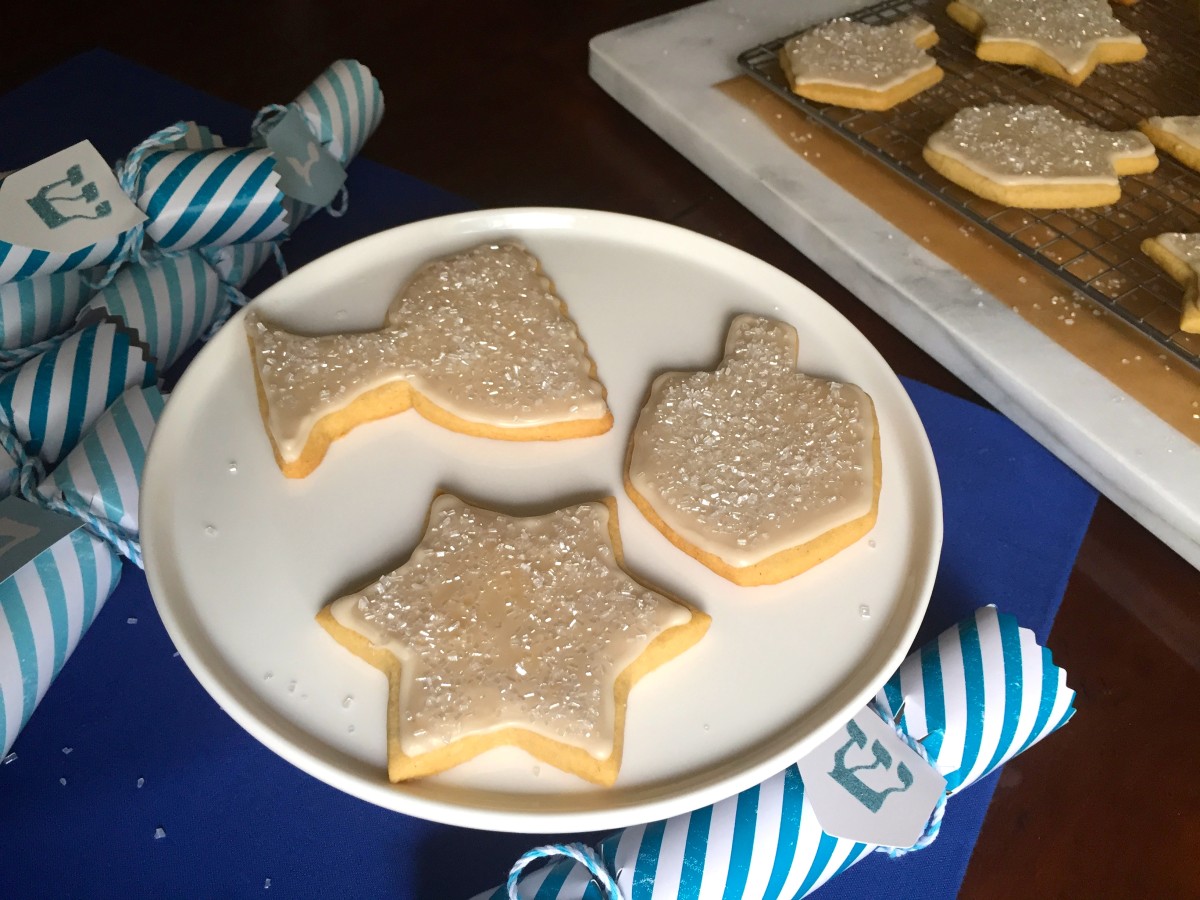
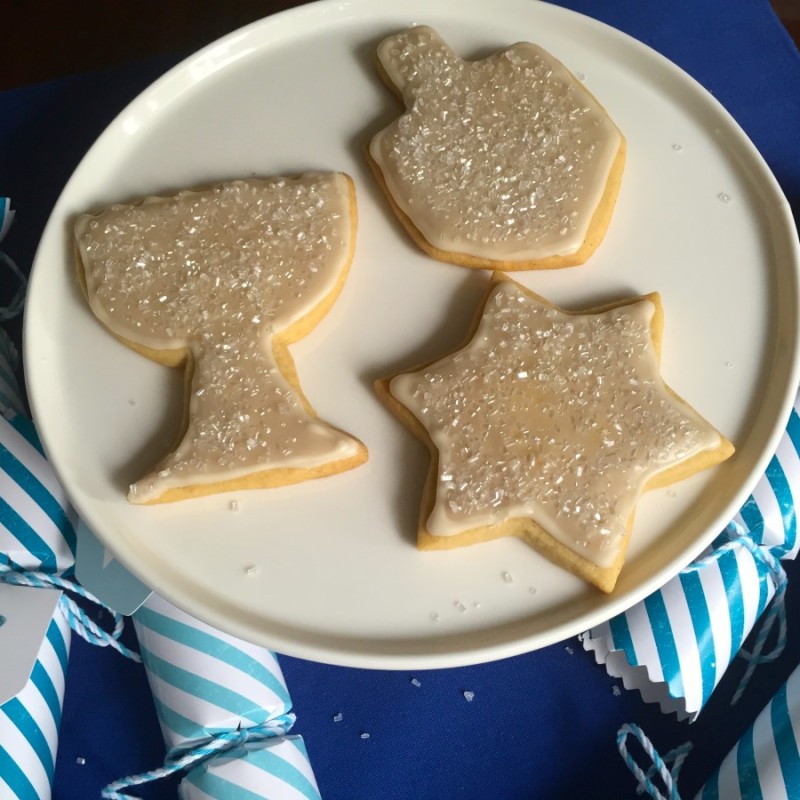
Although traditional decorating colors of Chanukah are blue and white, I have yet to find a dye-free natural blue food coloring, nor have I come up with a pretty blue natural food coloring so I went with a “white festival of lights” kind of theme.
This sugar cookie recipe is versatile enough to create any cookie shapes really. It’s a fun cookie to make, especially with kids who love to bake and decorate. And the icing can be flavored to your taste. These cookies also freeze exceptionally well, with or without the icing – perfect for making ahead.
Wishing those who celebrate a Happy and Healthy Chanukah!
Xx Jessica
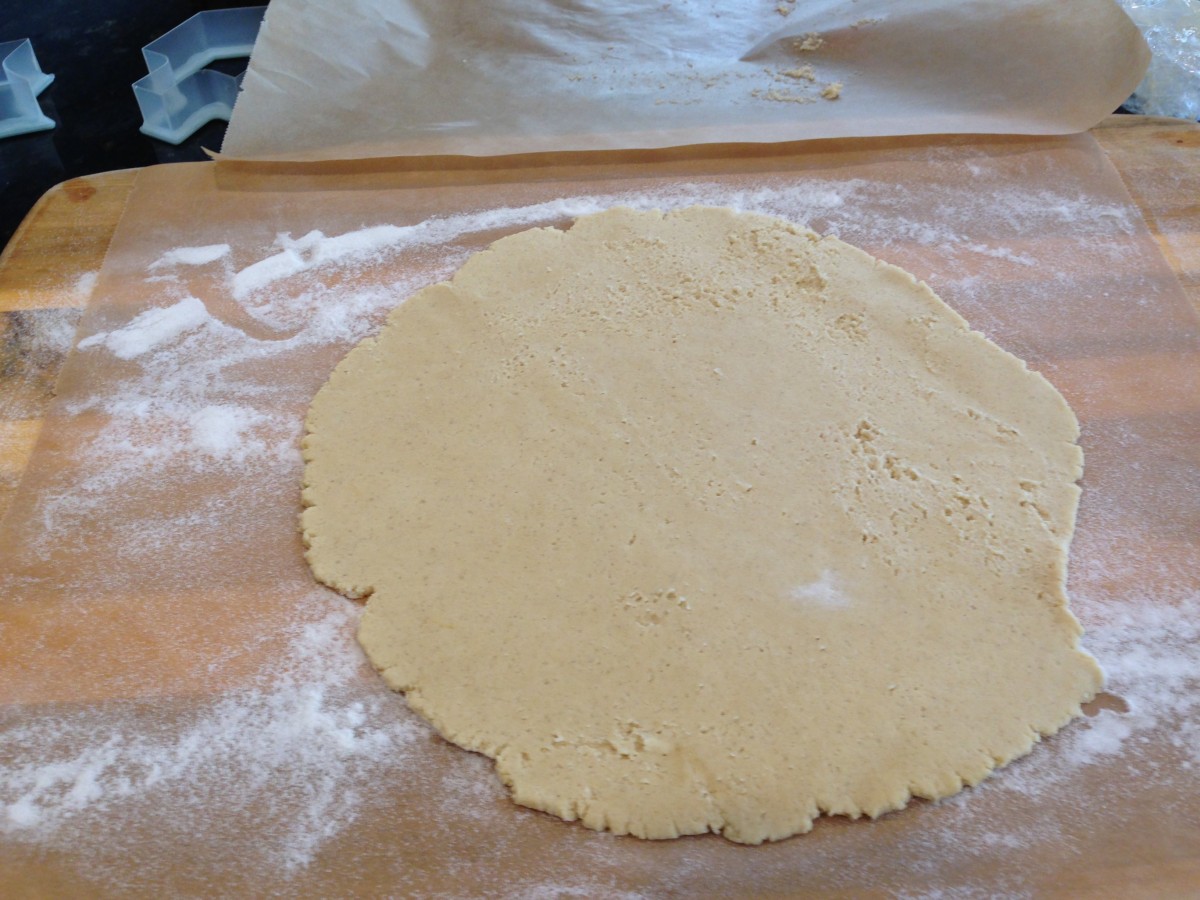
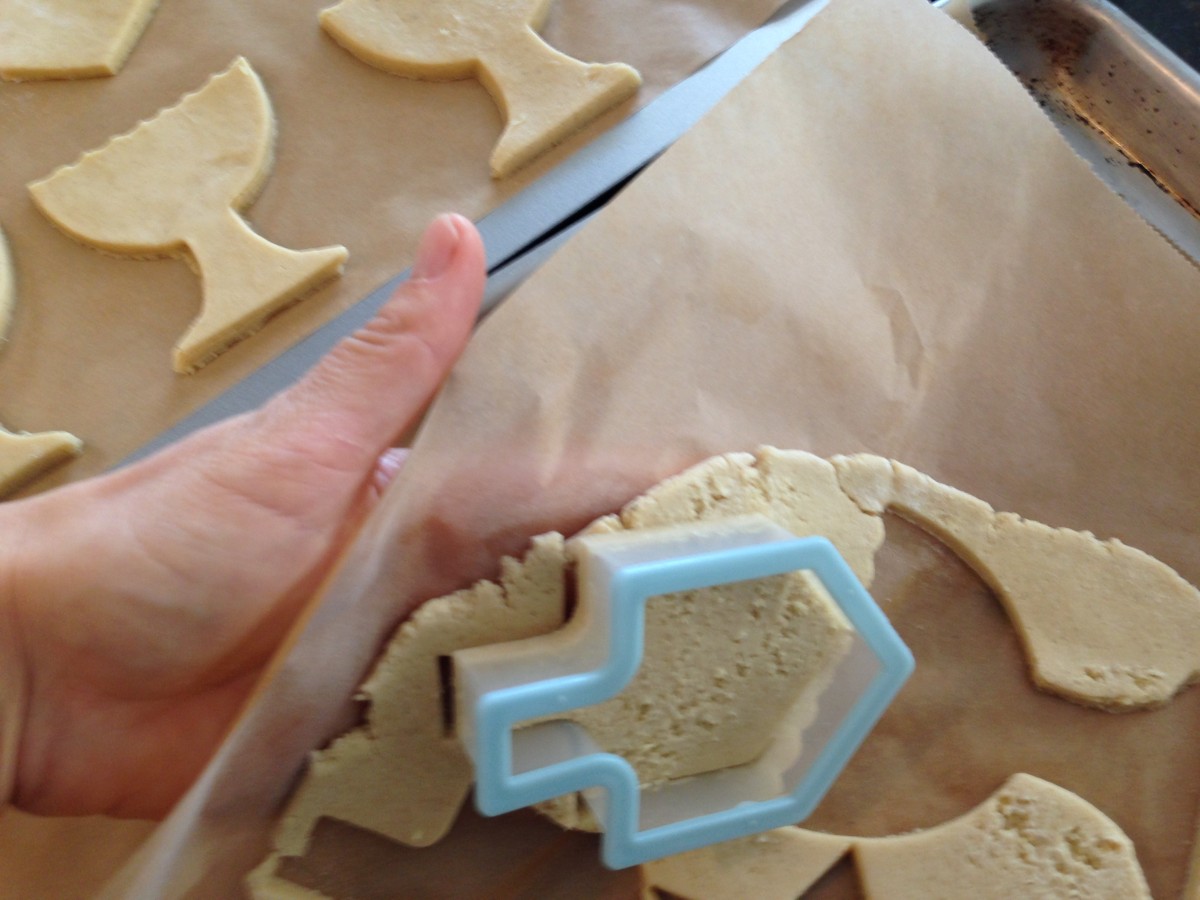
To make it easier: roll out the dough on floured parchment paper then transfer it (with the paper) onto my baking sheet and cut directly on the pan to avoid the ‘lift and transfer cut cookies’ step. The less handling, the better, in order to hold their shape.
If the cookie cutters are beginning to pull the dough, put the baking sheet back in the freezer for 5 minutes to firm up the dough, or refrigerate for 10-15 minutes.


Excuse my fingers in there, wanted to show you how you can lift up the paper if you have trouble releasing the dough from the cookie cutter.
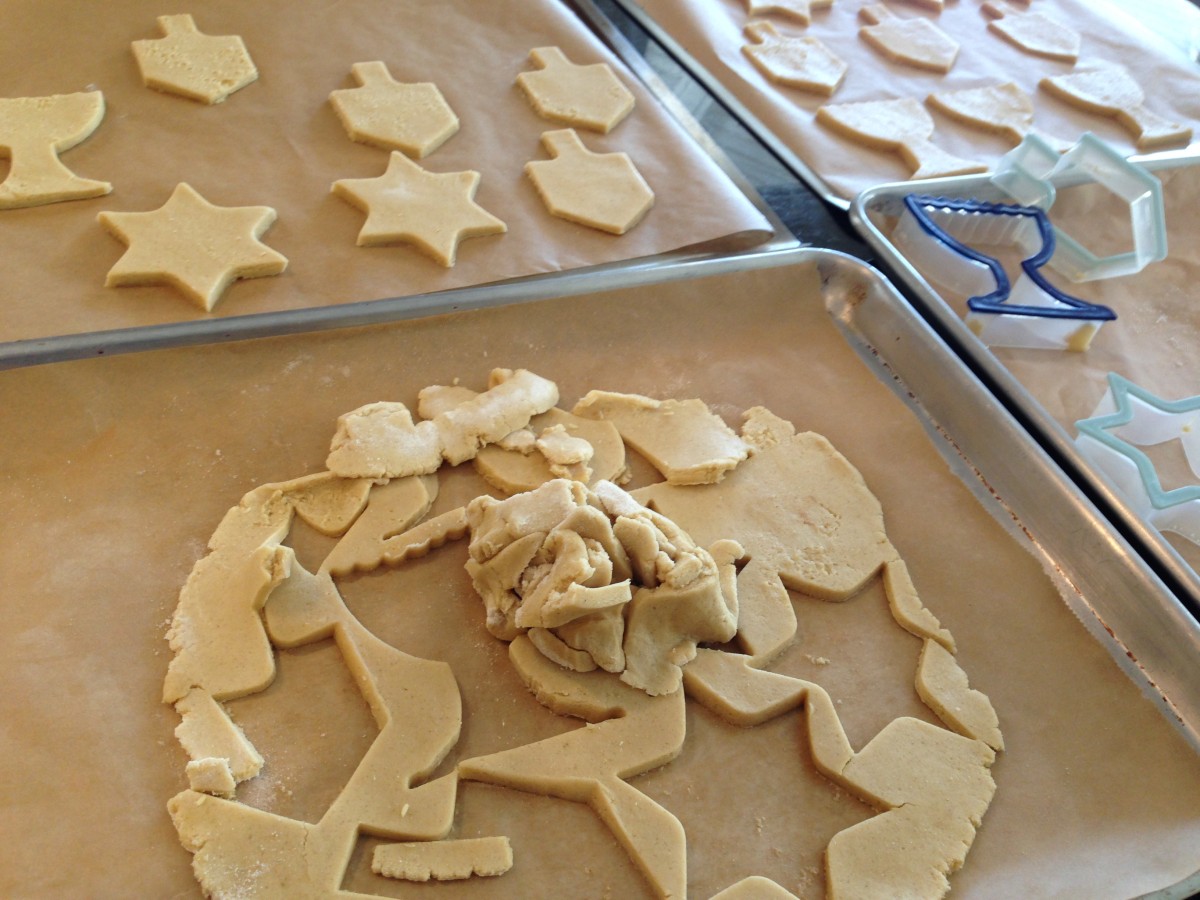
Transfer scraps onto a new parchment paper and repeat cut shapes. When they are all ready, bake simultaneously (if you have a large oven) or keep two sheet pans in the refrigerator while two pans bake. These cookies are very forgiving of all the chilling during preparation.
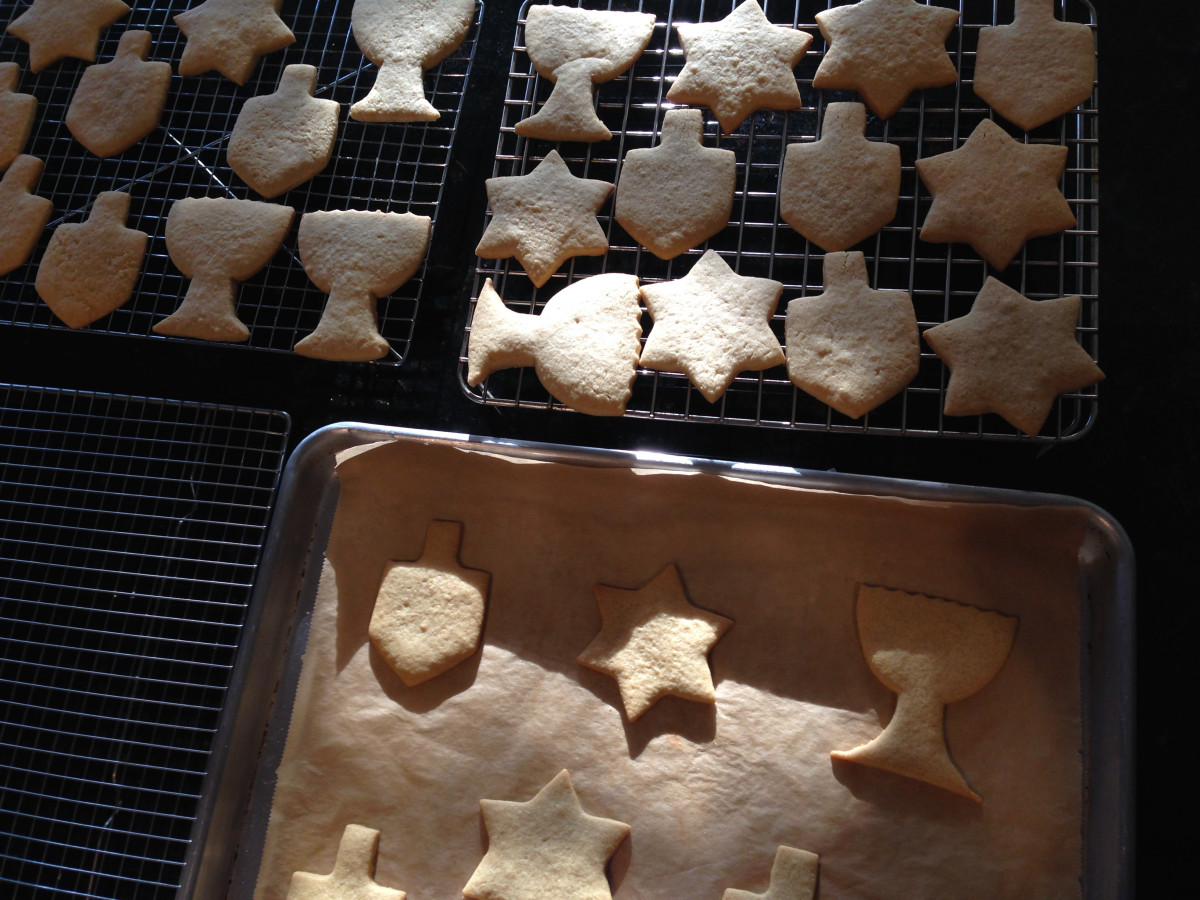
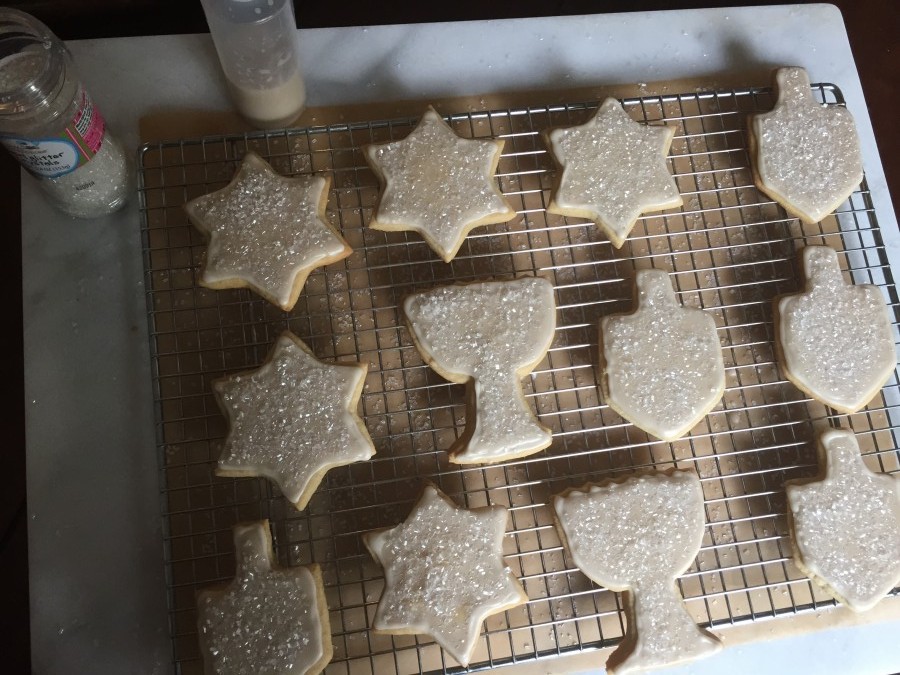
Cookies should be cooled completely. I baked mine two days prior and freeze them, then put them out on cooling racks with parchment paper underneath to catch spills (I know LOTS of parchment paper when baking/icing!) and let them come to room temperature while I prepare my icing and put into squeeze bottles.
Iced cookies need 24 hours to completely harden, so clear a good amount of space where they can set undisturbed on parchment paper.

Slow and steady …
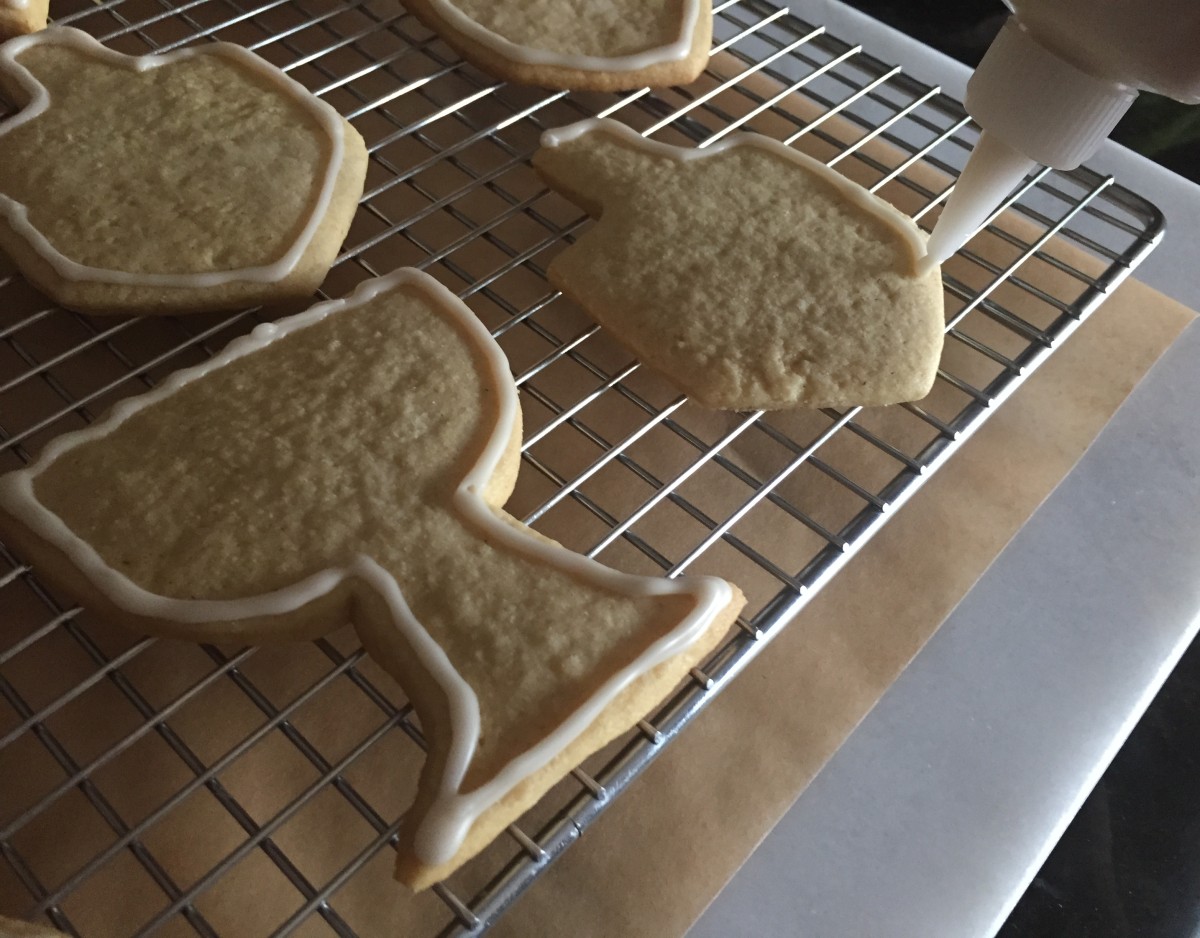
You don’t want any distance between your icing and cookie in order to maintain one consistent trace of the cookie. Thicker lines are better than thin lines for separating the areas for flood icing.
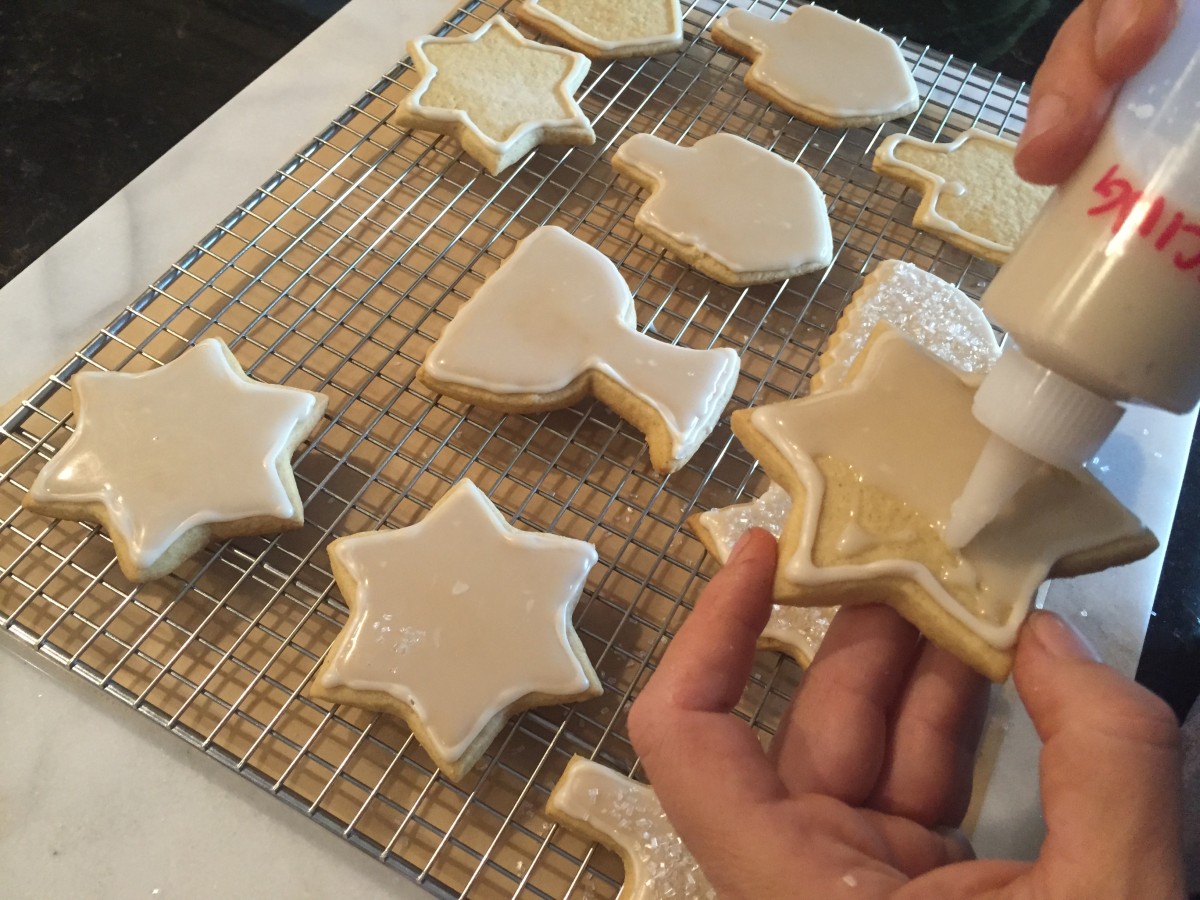
When border icing has hardened begin filling the interior area of the cookie by squeezing out a little at a time so as not to pool too much icing onto the cookie. Then squeeze out as needed until the cookie interior has been covered with icing. Push the icing into the corners and along the edges by gently using the tip of the squeeze bottle.
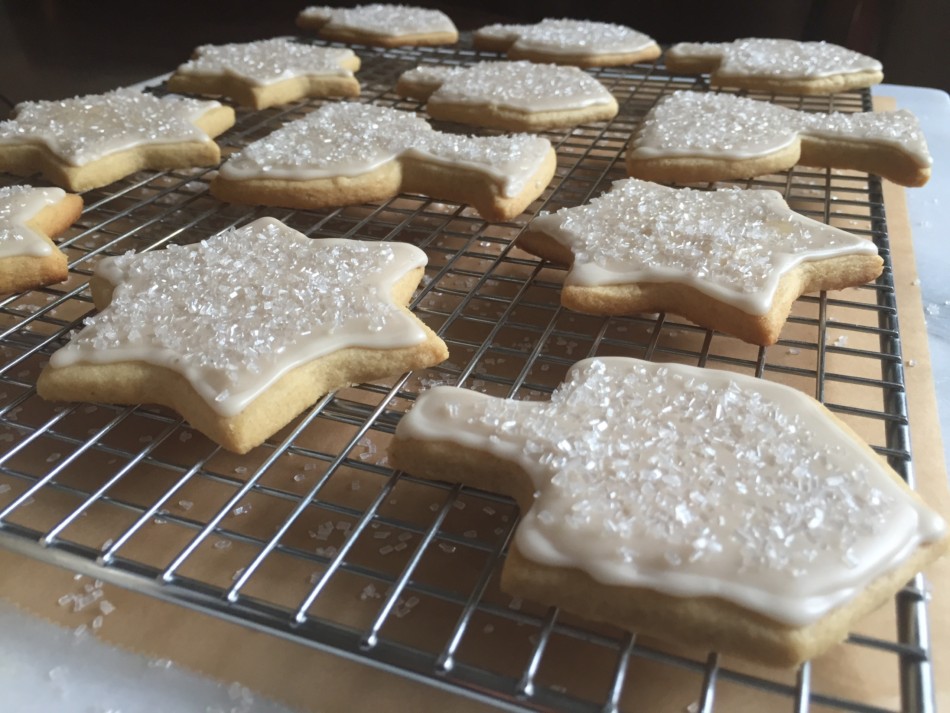
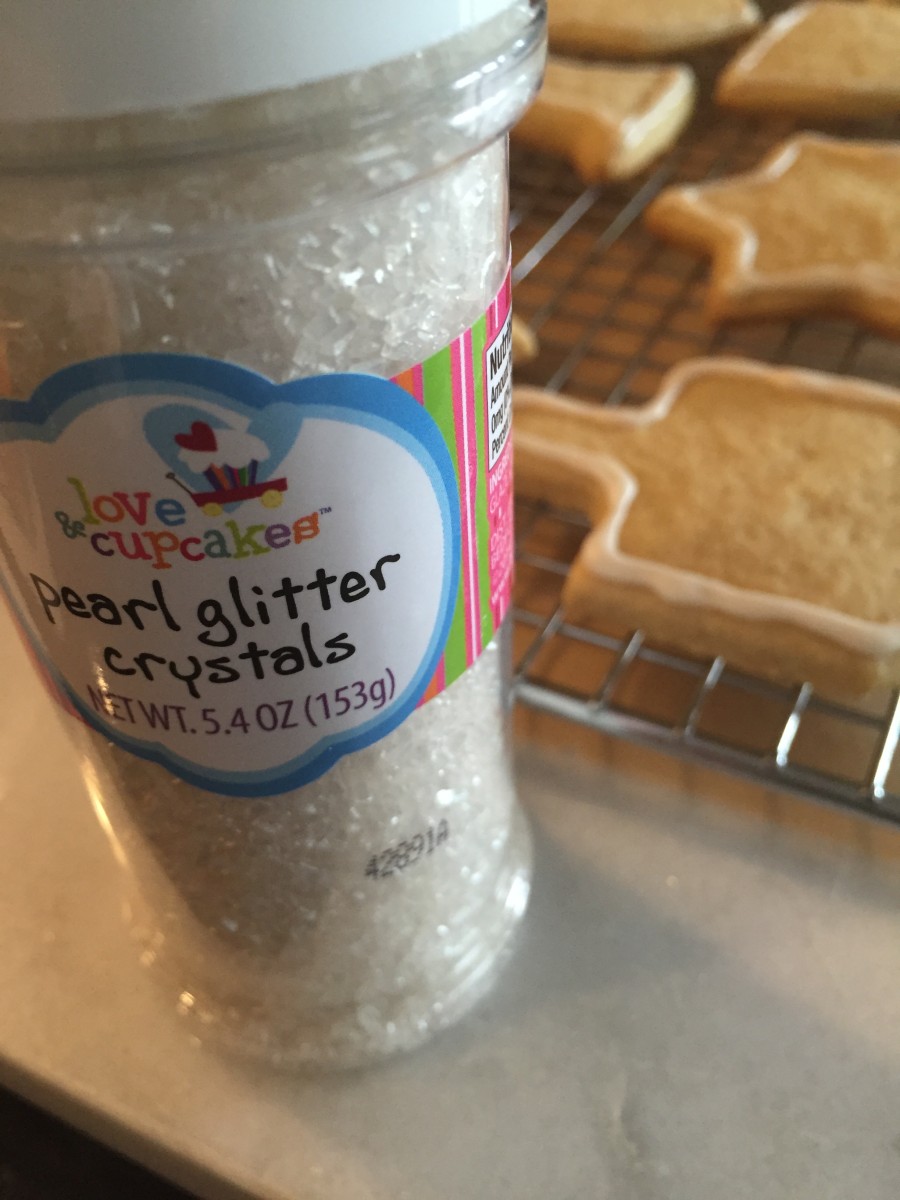
Once all cookies have been iced sprinkle coarse sparkling sugar.
I looked for this brand online for those who need dye free, but couldn’t find it anywhere, maybe you will have better luck than I did. If not, I believe King Arthur Flour has dye-free sparkle sugar on their website.
- Makes about 35 large cookies
- For the cookies:
- 11½ ounces (325 grams) GF Flour (I used Bob’s Red Mill 1 to 1 Baking Flour)
- ½ teaspoon baking soda
- ½ teaspoon kosher salt
- 7 ounces dairy free, soy free butter (I use Earth Balance)
- 1 tablespoon ground golden flaxseed meal
- 2 tablespoons warm water
- 1 cup sugar
- 1 teaspoon pure vanilla extract (I use Frontier or Nielsen Massey)
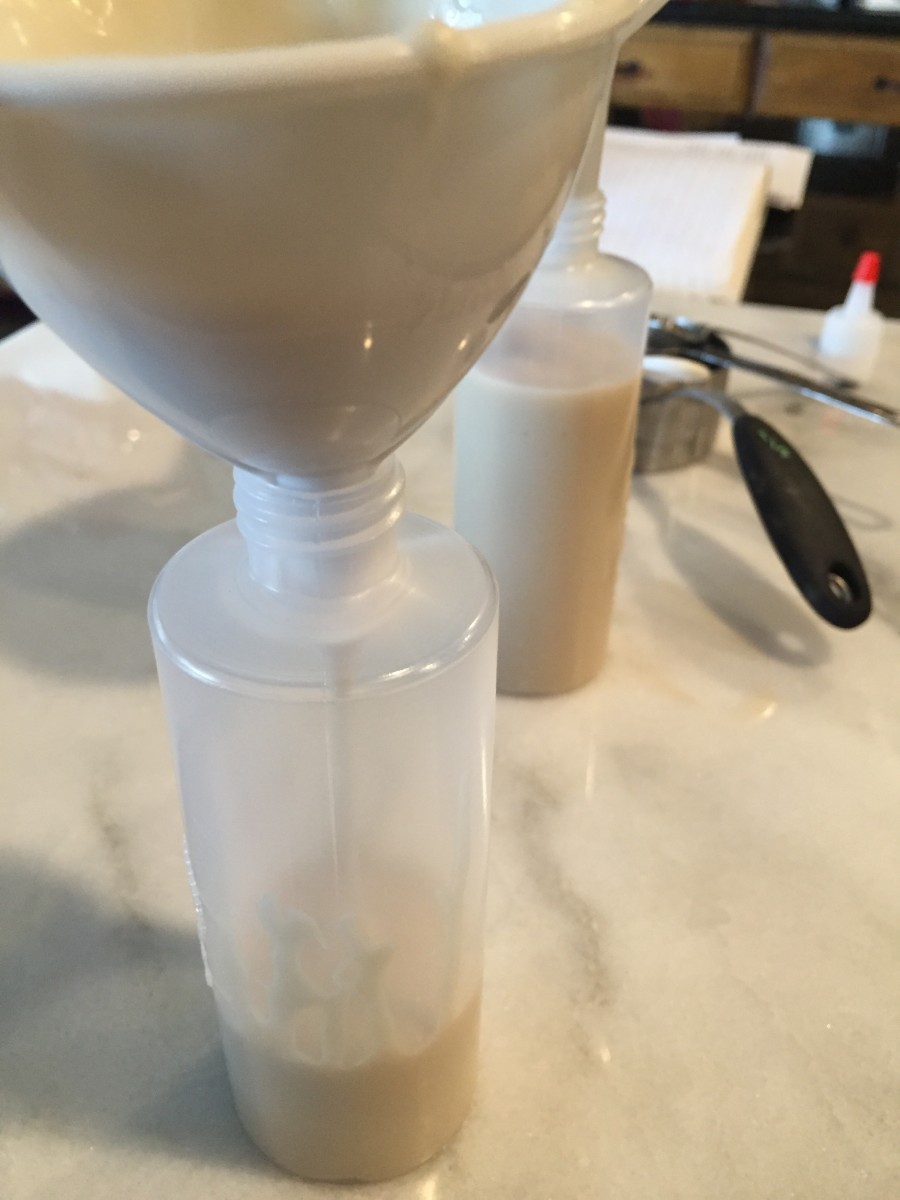
- You will need small squeeze bottles and a 2 oz sized funnel
- For the border icing:
- 1 cup powdered sugar
- 2 scant tablespoons coconut or other non-dairy milk
- ½ teaspoon flavored extract (I use Frontier Organics, peppermint, lemon, orange, maple are great choices)
- For the flood icing:
- 1 cup powdered sugar
- ½ teaspoon flavored extract
- 2½ tablespoons coconut or other non-dairy milk
- Coarse sugar glitter (I used Loves & Cupcakes dye free brand)
- You will need large (3-inch) cookie cutters.
- Preparation for the cookies:
- Combine ground flax seed meal and warm water, stir to combine. Set aside.
- Whisk together flour, baking soda, kosher salt, in a medium bowl. Set aside.
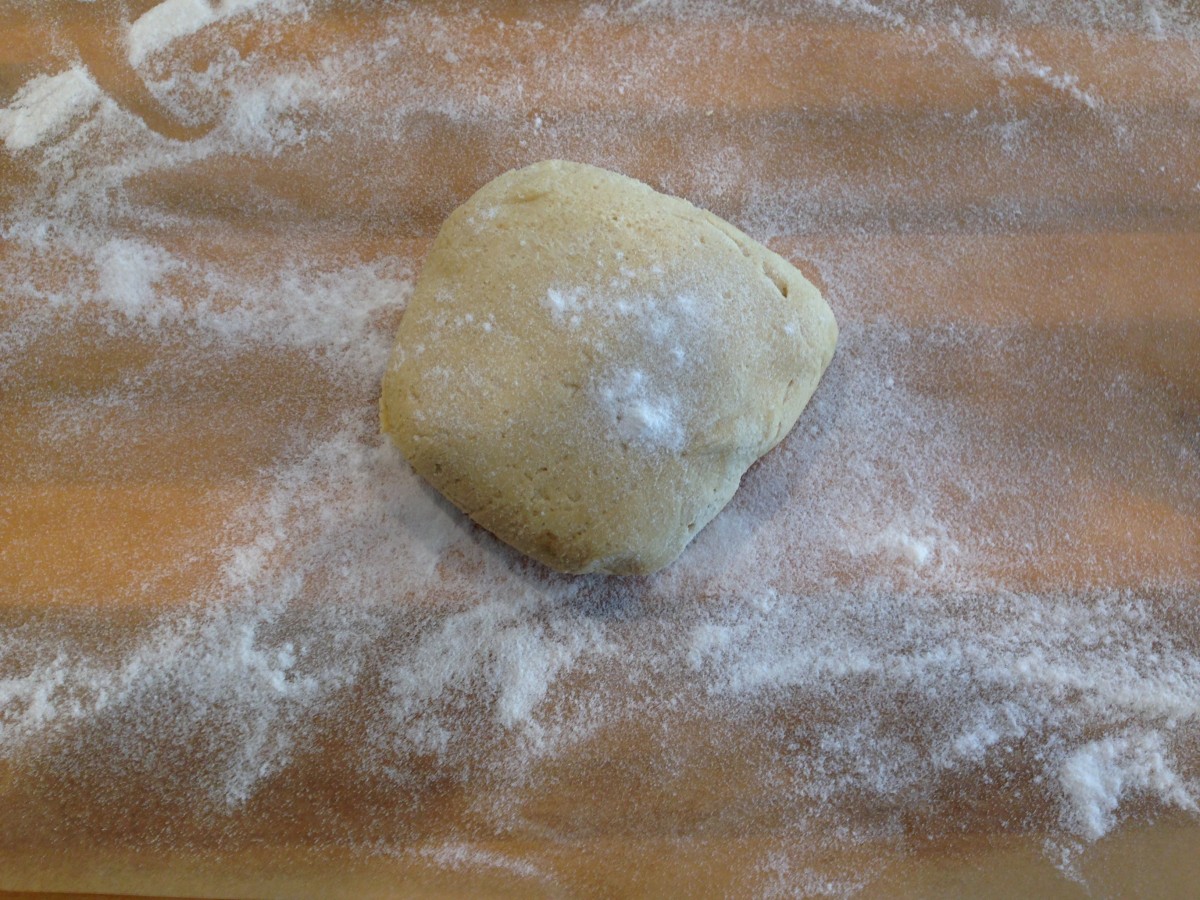
- Beat non-dairy butter, and sugar in a stand mixer set with a paddle attachment on medium speed for a minute until well blended. Do not overmix otherwise the cookies will come out puffy. Add flax seed mixture and vanilla then beat until just combined. Reduce mixer to low; add flour mixture and beat until just combined. Using a rubber spatula, scrape any unmixed batter at the bottom of the bowl. Transfer dough onto a lightly floured parchment paper set on a cutting board or other sturdy surface that can be lifted later. Cover with another piece of parchment paper and roll out dough to a ¼ inch thickness. Chill the rolled out dough for 30 minutes.
- Prepare 3 baking sheets lined with parchment paper (no greasing needed).
- Cut out shapes, place onto the baking sheets. Space about 1½ inches apart, approximately 12 cookies to a baking sheet.
- Repeat with remaining dough scraps to cut out more shapes until all the dough has been used.
- Chill the cut cookies for 45-60 minutes.
- Preheat the oven to 350 degrees F.
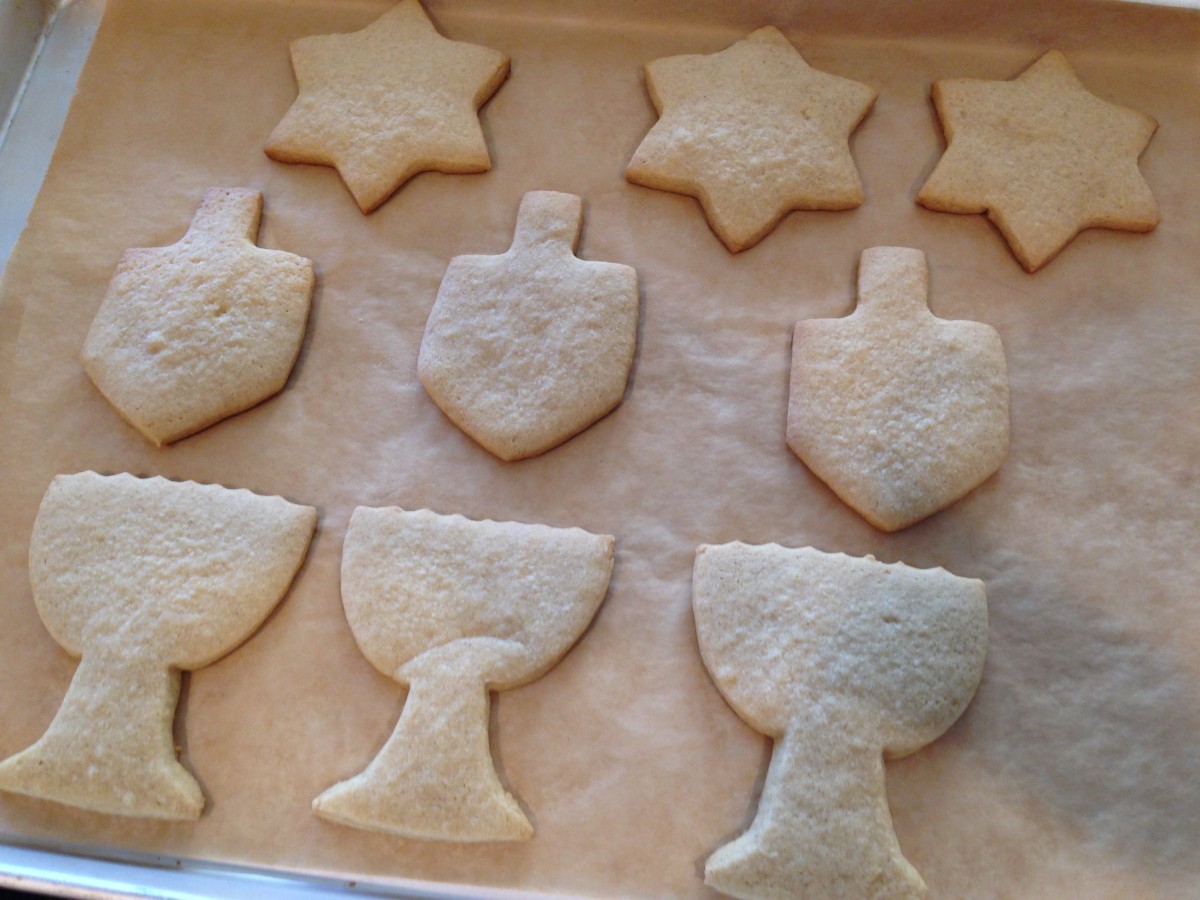
- Bake the cookies for 10-12 minutes, until edges look golden and bottoms are browned. Let cool on the baking sheets for at least 15 minutes. Transfer to cooling racks to cool completely.
- Notes on icing:
- Cookies should be cooled completely. I baked mine two days prior and froze them, then put them out on cooling racks with parchment paper underneath (I know LOTS of parchment paper when baking/icing!) to let them come to room temperature while I prepared my icing and put them into squeeze bottles.
- Iced cookies need 24 hours to completely harden, so clear a good amount of space where they can set undisturbed on parchment paper. If you are enjoying these the same day, let them set for 4 hours before serving. I have put cookies up on top shelves in my pantry or in cabinets to keep them out of my kid’s hands!
- Since I used white icing for these cookies I labeled my squeeze bottles to avoid any confusion.
- For the border icing:
- Mix together the powdered sugar, coconut milk, and lemon extract using a fork. It will be very thick and will form ribbons when poured off the fork. The ribbons should hold before combining into the icing quickly. Add food coloring, if desired.
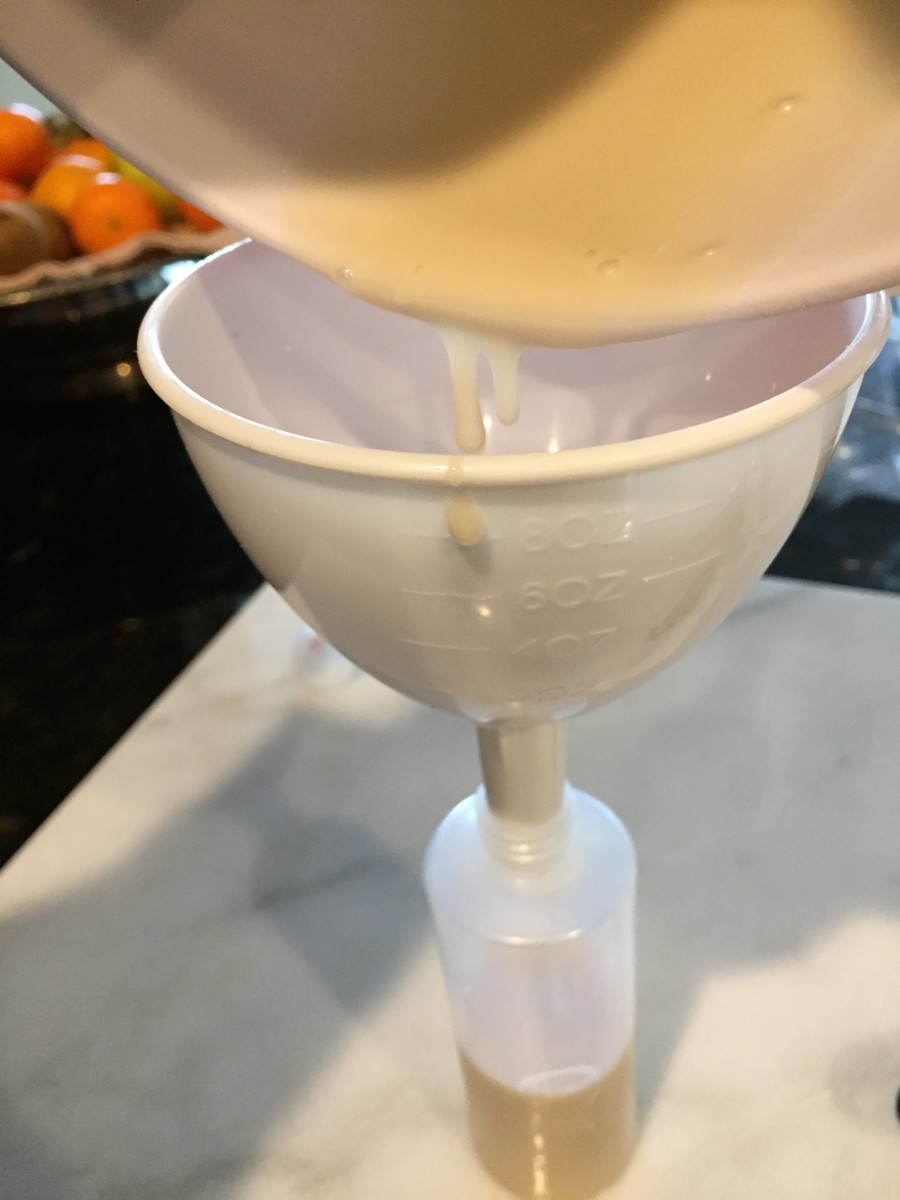
- Twist off the cover of a clean squeeze bottle and insert the funnel into the opening, pour some of the thick icing into the funnel. This icing is very thick and will not budge on its own. Push a butter knife into the thick icing by pressing into the opening of the funnel repeatedly, this should help get the icing moving. You can also squeeze the bottle to suction the icing for it to start flowing.
- Border icing takes about 20 minutes to pour into the bottle, so I suggest leaning the bottle (with the funnel attached) against something stable to prop it up while it pours. Occasionally, push into the funnel with the butter knife if it slows down. Add remaining icing into the funnel.
- Hold the bottle vertical squeezing with a consistent pressure and the tip of the bottle slightly above the cookie. Begin icing along the edge of the cookie, as if tracing an outline of the cookie. Note: You don’t want any distance between your icing and cookie in order to maintain one consistent trace of the cookie. Thicker lines are better than thin lines for separating the areas for flood icing.
- Let the border icing harden (to the touch) before flooding. Meanwhile, prepare your flood icing while you wait.
- For the flood icing:
- Mix together the sugar, coconut milk, and extract using a fork until completely smooth. It should be fairly thick, but drizzle off the fork easily. Twist off the cover of a clean squeeze bottle and insert the funnel into the opening, pour the flood icing into the bottle. It should pour easily, and quickly.
- When border icing has hardened begin filling the interior area of the cookie by squeezing out a little at a time so as not to pool too much icing onto the cookie. Then squeeze out as needed until the cookie interior has been covered with icing. Push the icing into the corners and along the edges by gently using the tip of the squeeze bottle.
- Once all cookies have been iced sprinkle coarse sparkling sugar.
- Note: Do not sprinkle on the sugar immediately after you have flooded the interior with icing or the sugar will get absorbed, wait 10 minutes before doing so.
- Allow cookies to dry, uncovered for 24 hours. Depending on the thickness of your icing, it may take longer. When the cookies are completely dry it will appear smooth, dry, and resistant to smudges.
- Once dry, you can stack the cookies between sheets of parchment paper in an airtight container for up to 2 weeks.
- More Notes:
- The leftover icing can keep for up to 4 days in the fridge. Let it come to room temperature before using again.
- You can divide your cookie baking and decorating over a couple of days by keeping half of your unbaked cut cookie shapes in the freezer, defrosting at room temperature for 60 minutes then bake and ice OR bake all the cookies on one day and do the icing the next day.
- To marbleize the icing, flood the entire interior with icing, add drop dots of food coloring then run a toothpick through the dots to “marbleize”.
Don't miss a recipe! Subscribe here.

Comments