
Simple and easy is better sometimes all the time. When you can get away with it. This pie has your back.
Not always the case when baking. There are usually a few steps/preparations, and a bit of a process when baking, and then there is the trial and error of gf/df/sf baking (and egg free when my oldest is joining us) but don’t get me wrong, it is certainly worth all the effort when you take that first (right out of the oven) joyful bite. BUT, when a pie like this is simple and doesn’t require baking, HELLO, let’s get this party started!
And party we did, literally, with this beyond-decadent chocolate peanut butter pie to celebrate my oldest son’s 22nd birthday last week. Gosh, I vividly remember when I took him to his first day at pre-school as he proudly said bye-bye in his grown-up cable sweater and corduroy pants eighteen years ago.
We went from a homemade Korean-inspired dinner to an all-American classic combination for dessert. Dinner: a bit of a process. Dessert: Easy as pie. Ha! I couldn’t resist saying that.
Both were a standout and a must try (will post the bibimbap and kimchi pancakes soon) … I can still taste the flavors … it was an amazing meal that had us digging into our dinner bowls then our pie with gluttonous determination. We managed to take a breath between dinner & dessert.
I came across a version of this pie on Pinterest; a recipe originally by Ree Drummond, the Pioneer Woman (click here for the original recipe), as she calls herself, and went for it.
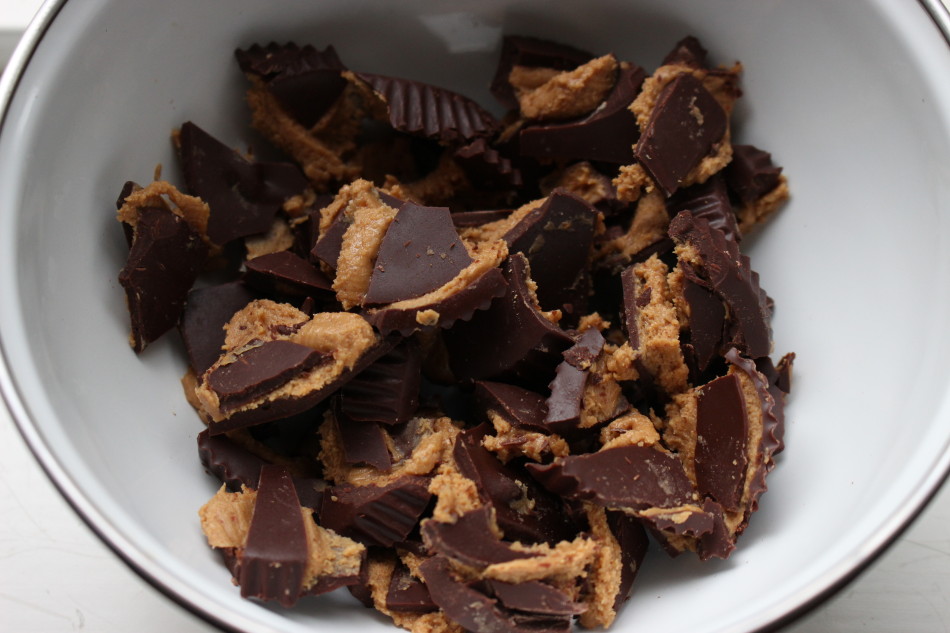
My son is a big chocolate and peanut butter fan. He also loves, loves Justin’s dark chocolate peanut butter cups so I just had to throw some in – the element of surprise.
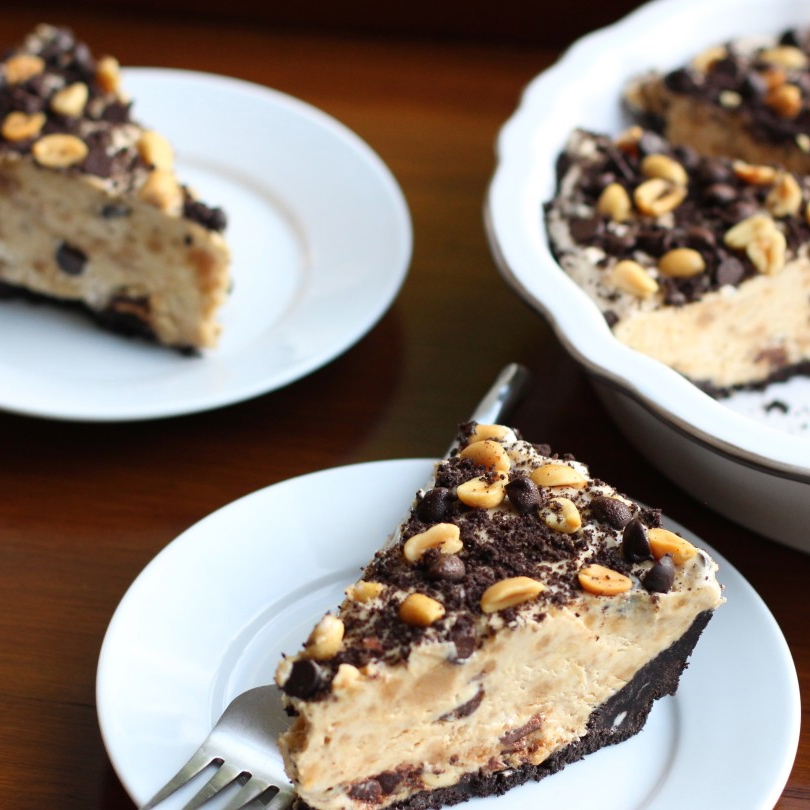
As if that wasn’t enough, I added some remaining crushed cookie crumbs on top. Ree’s pie did look amazing, but I couldn’t resist to take it up a few notches for my birthday boy.

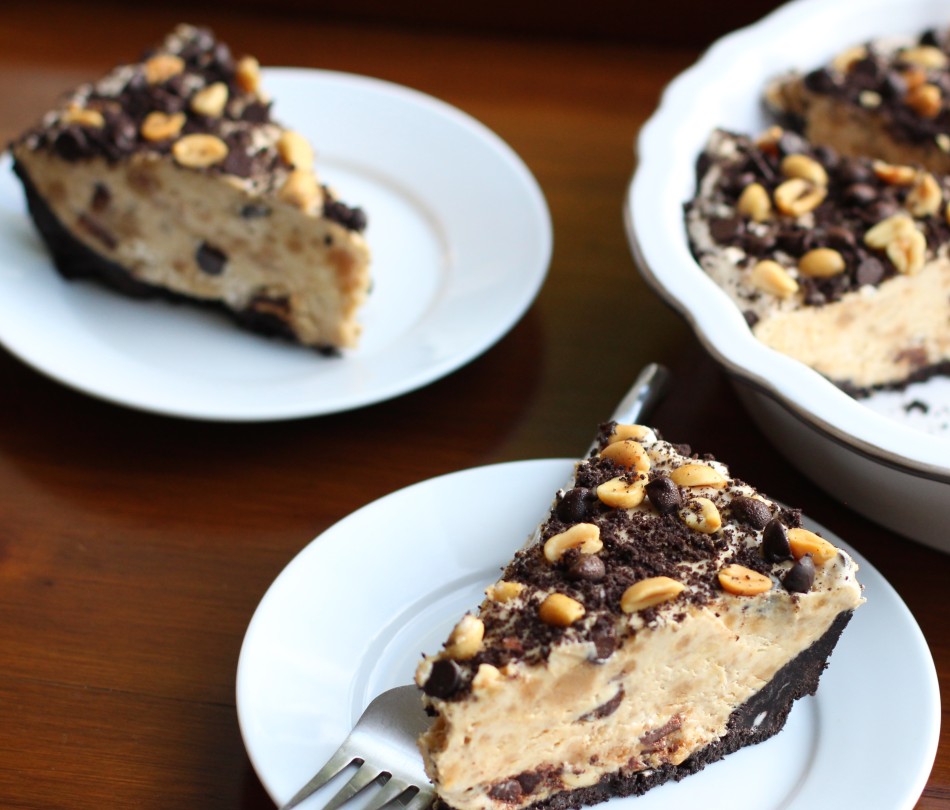
Oh. My. Peanut Butter. Chocolate. Goodness.
If you have a peanut butter/chocolate fan this dessert will make you look like the ultimate rock star. Bits of peanut butter cups, peanuts, creamy filling, cookie crust … okay, enough said. I will hand over the spatula to you to try it for yourself. Well, maybe not all for yourself, you will share won’t you?
Enjoy!
- Crust:
- 1⅓ boxes "Brownie" Cookies (I use Enjoy Life)
- 5 tablespoons Earth Balance Soy Free Spread or other non-dairy 'butter'
- Filling:
- 1 cup plus 2 tablespoons creamy peanut butter (I use Earth Balance)
- 2 tablespoons non-dairy plain cream cheese (I use Daiya)
- 3 tablespoons vanilla coconut yogurt (I use So Delicious brand)
- 1¼ cups powdered sugar, sifted
- ½ cup plus 3 tablespoons organic salted, roasted peanuts, divided
- 10 peanut butter cups, broken into pieces (I use Justin’s Dark Chocolate Cups)
- 1½ containers non-dairy whipped topping, thawed (I use So Delicious brand)
- ¼ cup dark chocolate chips (I used Enjoy Life brand)
- For the crust:
- Crush the cookies in a food processor until fine crumbs.Transfer all but 2 tablespoons of crumbs (reserve for later) to a small bowl then add earth balance 'butter' spread.
- Combine with a fork, or hands until fully blended and begins to take shape.
- Press evenly and compact into a 9-inch pie plate -- (My crust ended at about ½ inch before the rim.)
- Chill in the freezer while preparing the filling.
- Filling:
- In a stand mixer set with a paddle attachment, or using a hand mixer set on medium speed, beat peanut butter with the cream cheese, after about a minute then add coconut yogurt.
- Once combined, reduce to low speed and add sifted powdered sugar, increase back to medium speed and beat until smooth.
- Turn off mixer, add in ½ cup peanuts (reserve the rest for later), and broken pieces of peanut butter cups and combine well. Fold in thawed whipped topping.
- Pour the filling into the chilled crust and spread evenly.
- Sprinkle reserved 3 tablespoons of peanuts, dark chocolate chips, and reserved cookie crumbs on top.
- Chill for at least another 90 minutes before serving.
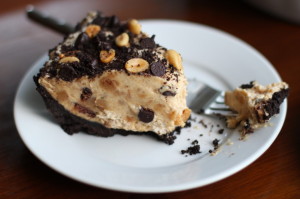
- Slice with a sharp knife (to cut through all the peanut butter chunks) and serve chilled.
- Note: This can be made 4-5 days in advance and freezes well when covered with a 3-ply seal of plastic wrap. If made ahead and frozen for days, thaw for 15 minutes before slicing.
Don't miss a recipe! Subscribe here.

Comments