It’s December and the holidays are near, which means the legendary flavor of peppermint (and chocolate) is all around us in just about every sweet product. The hard part, with all the wonderful treats I see, is that rarely can I bring home something for my family to enjoy. Every ingredient label reads “contains wheat, dairy, soy, egg”. So when the holidays (and holiday gifts) come around my kitchen goes into overtime mode after the little guys go to bed. Aside from the flavor combination of peppermint and chocolate that we know and love, there is one other important component to the holidays of early winter …
Marshmallows. Not just any marshmallows. Homemade marshmallows.
So much easier than you think. Like no other you have tasted before. Really.
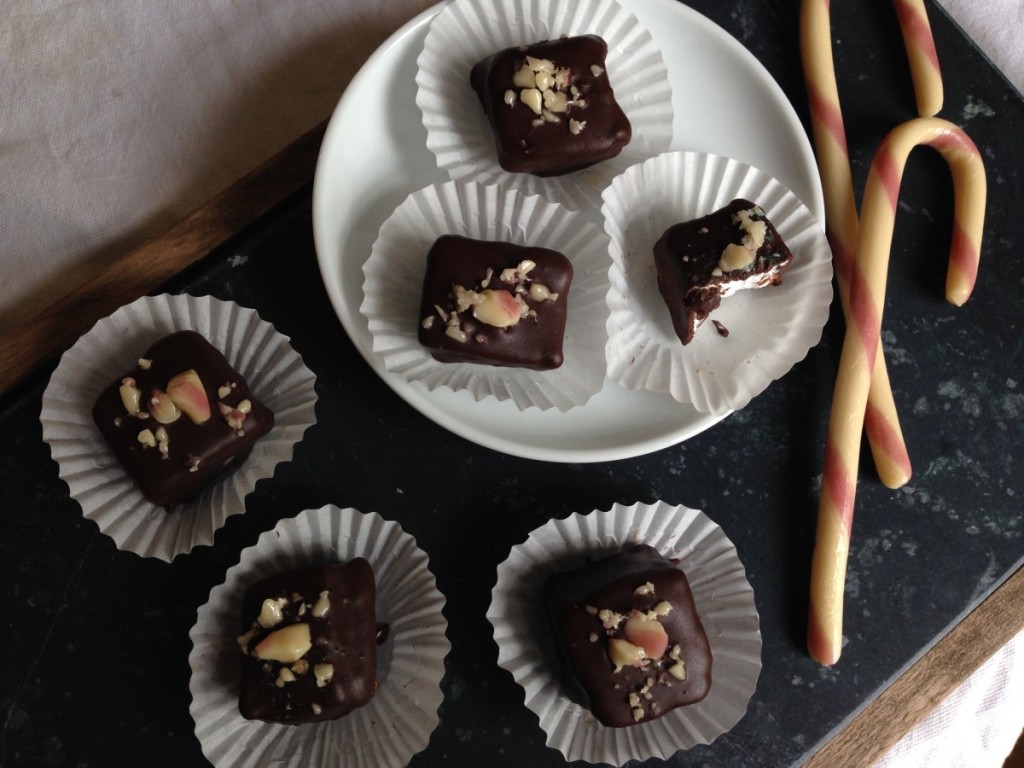
After testing this recipe a few times (each successfully, yay!) we have lots here and can make one feel like a kid again sneaking bites here and there (as I say with a bit of giddiness). I regret nothing. I left some for hot cocoa, some for s’mores and some to drench in dark chocolate with a sprinkling of crushed candy cane to fulfill my our craving for peppermint bark marshmallows.
Yes, peppermint bark marshmallows! I can hardly contain myself … you know just like those sold at Williams Sonoma and in their catalog?
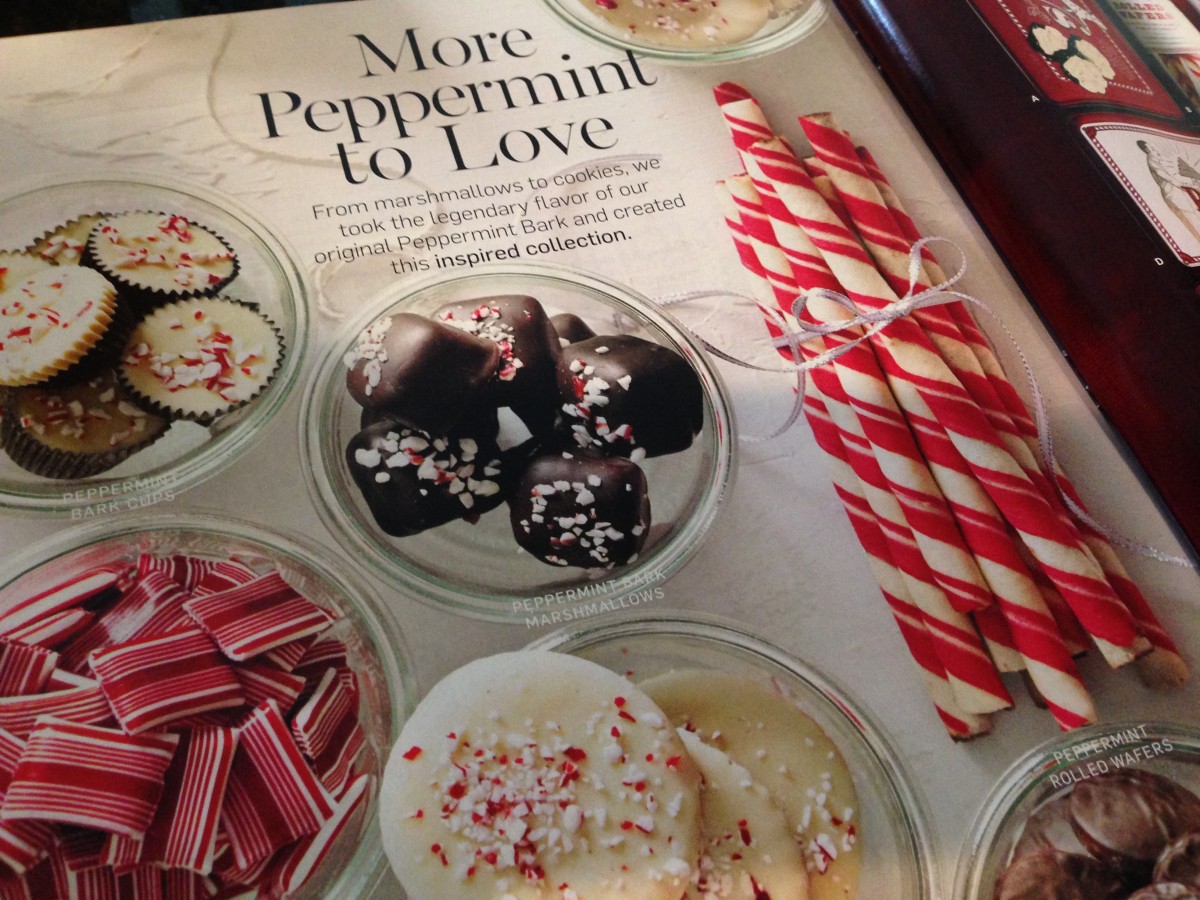
So, because we can’t eat them, and probably won’t anytime soon, unless the people at Williams Sonoma are up to something good for us allergen free folks, this peppermint bark marshmallow recipe was born.
No need to admire those boxes from afar any longer my friends … an easy recipe to make over the weekend that will satisfy the senses.
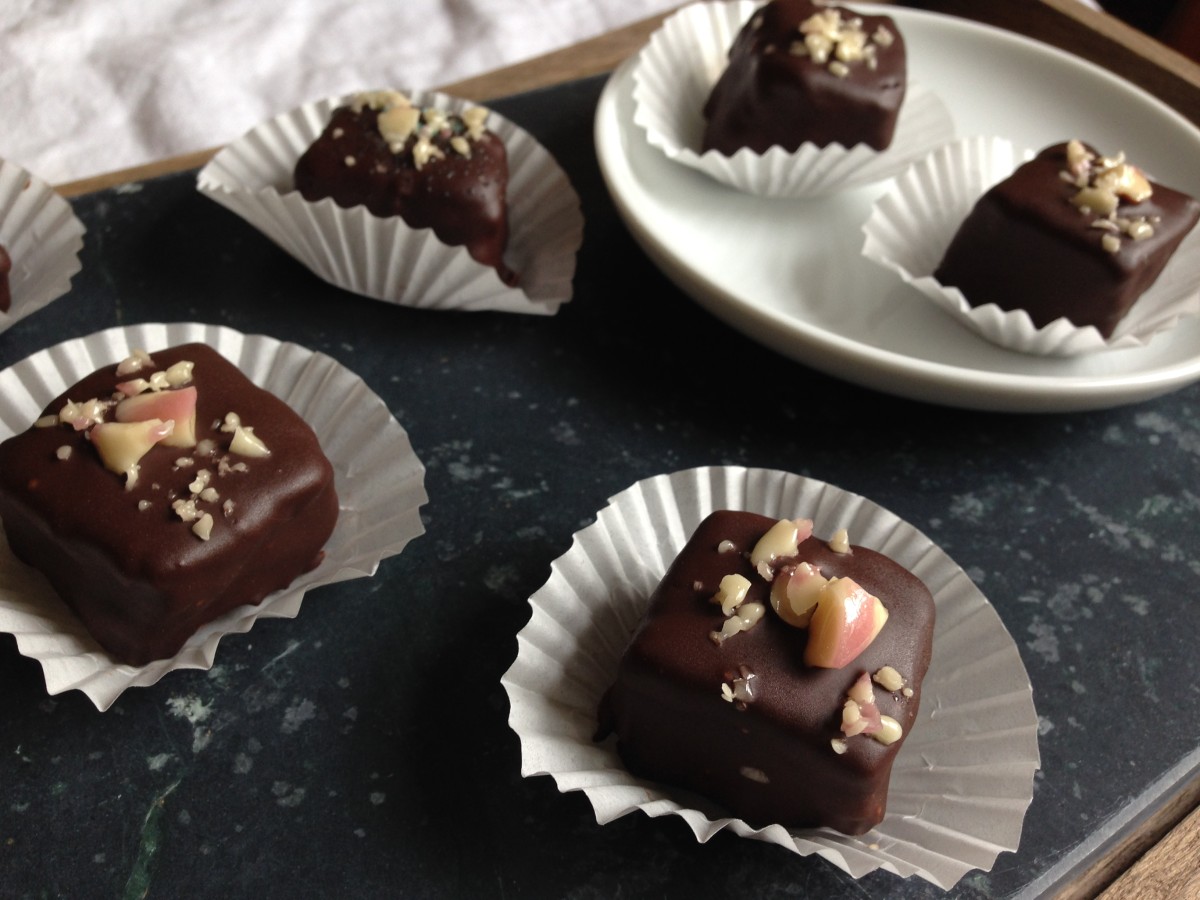
And how lovely would these be to give as gifts?
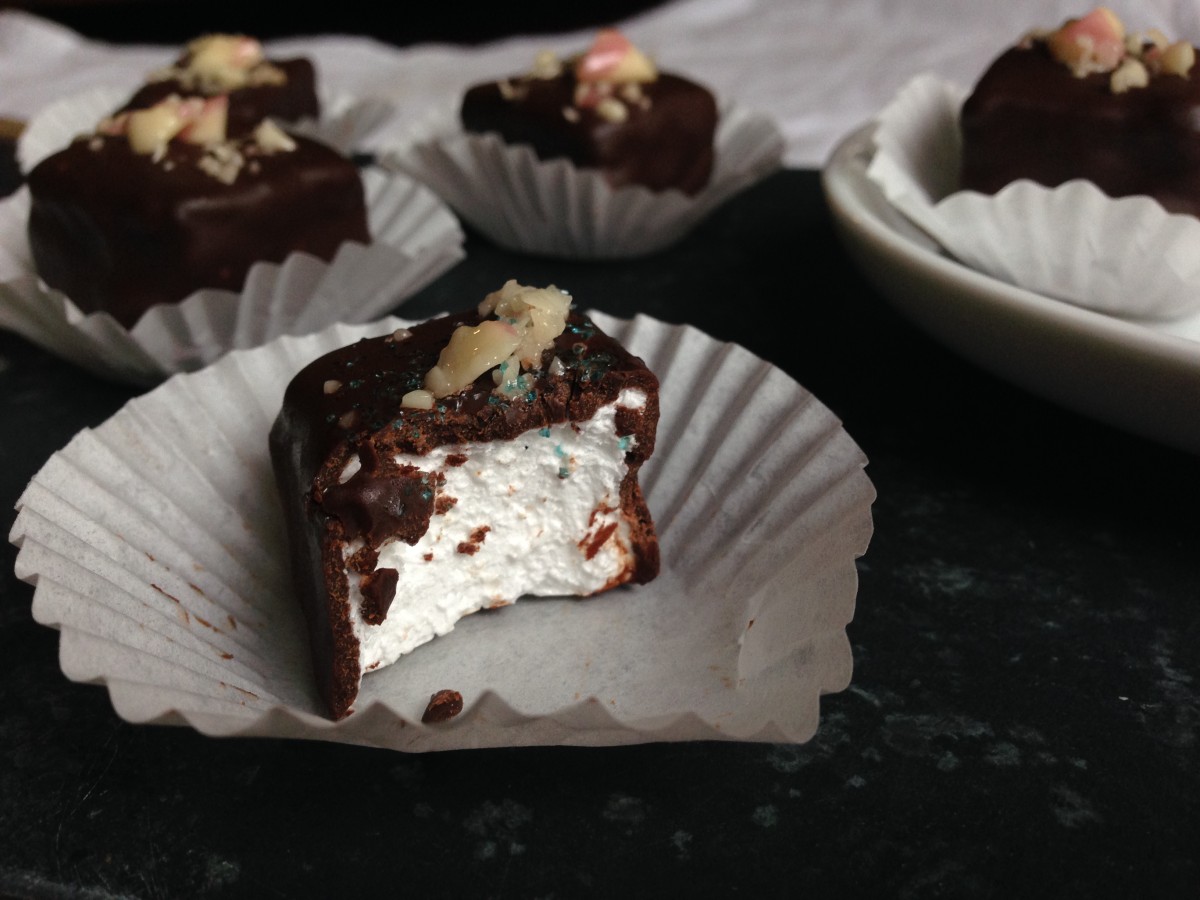
In case you missed my recent posts, I have taken on a little project of creating recipes from the food in the Williams Sonoma Thanksgiving 2014 Catalog made gluten, dairy, soy, and egg free. This recipe is also corn free and dye free, hence the dull red color on my crushed candy cane. I figured better dull than have a reaction from my kids! Certainly traditional candy canes will give a brighter, more holiday effect like the ones in the photo. I also sprinkled a dye free blue sanding sugar on one (the one I bit into) to try out a Chanukah-ish look, but it blended into the chocolate too much to show any color.
Can you see the blue sugar?
I used glucose syrup from France that I found in a restaurant supply store near Los Angeles. Most glucose syrup from America is derived from corn, usually GMO corn. The glucose syrup from Europe, Australia, and New Zealand are derived from wheat; with Europe being GMO free I decided to use one imported from France. Even though it is derived from wheat it is gluten free. Glucose syrup is highly processed and purified, removing all proteins – what causes inflammation in those with Celiac, gut issues, and sensitivities – according to R5 Elisa testing, and are safe to be consumed by those sensitive to gluten or corn according to a clinical trial published (read here).
Before I got started, I read on the internet that making gluten free and vegan marshmallows is difficult … how one guy “broke the code” to making gluten free, vegan marshmallows (not soy free). He warned of the sticky mess and that it can only be cleaned with a steamer. Um, I really don’t know what the marshmallow makers were talking about. There wasn’t any splatter from the mixer, no expensive stabilizers, specific gelatins, or only the use of soy protein isolates. There also wasn’t any need to use corn syrup (some said nothing but corn syrup will work) with each batch. Whew! I will admit some of the things I read made me feel like I shouldn’t even attempt this – that marshmallow land was not in the cards for me.
Glad I went into this naively because I have wanted to make marshmallows for so long. While they were sitting to air out I thought what was the fuss about?
I made the marshmallows the day before and sealed it in a plastic container, then prepared the chocolate and glazed them the next day.
Now we can all have the peppermint bark marshmallows to our hearts content – gluten, dairy, soy, egg, corn and dye free. I have a feeling you will love these as much as we do … enjoy!

Makes about 80 one-inch square marshmallows
You will need a stand mixer with a whisk attachment and a candy thermometer to yield best results.
Adapted recipe from Alton Brown
Ingredients:
For the marshmallows:
3 packages (28 grams) unflavored vegan gelatin (I used Natural Desserts Unflavored Gel Desserts)
1 cup ice cold water, divided
1 3/4 plus 2 tablespoons (14 ounces) fine sugar (caster sugar)
1 cup glucose syrup (I use Caullet, imported from France, sold online or baking supply stores)
1/4 teaspoon kosher salt
1/2 teaspoon peppermint extract (I use Frontier Organic)
1/2 teaspoon vanilla extract (I use Nielsen-Massey)
1/4 cup confectioners’ sugar (I use Wholesome Sweeteners)
1/8 cup tapioca starch
2 teaspoons coconut oil, melted
For the chocolate and garnish:
1 (10 ounces) bag of gluten free, dairy free dark chocolate chips (I use Enjoy Life)
2 drops peppermint extract
1 candy cane, crushed (I used True Joy Sweets, which are dye free)
Preparation:
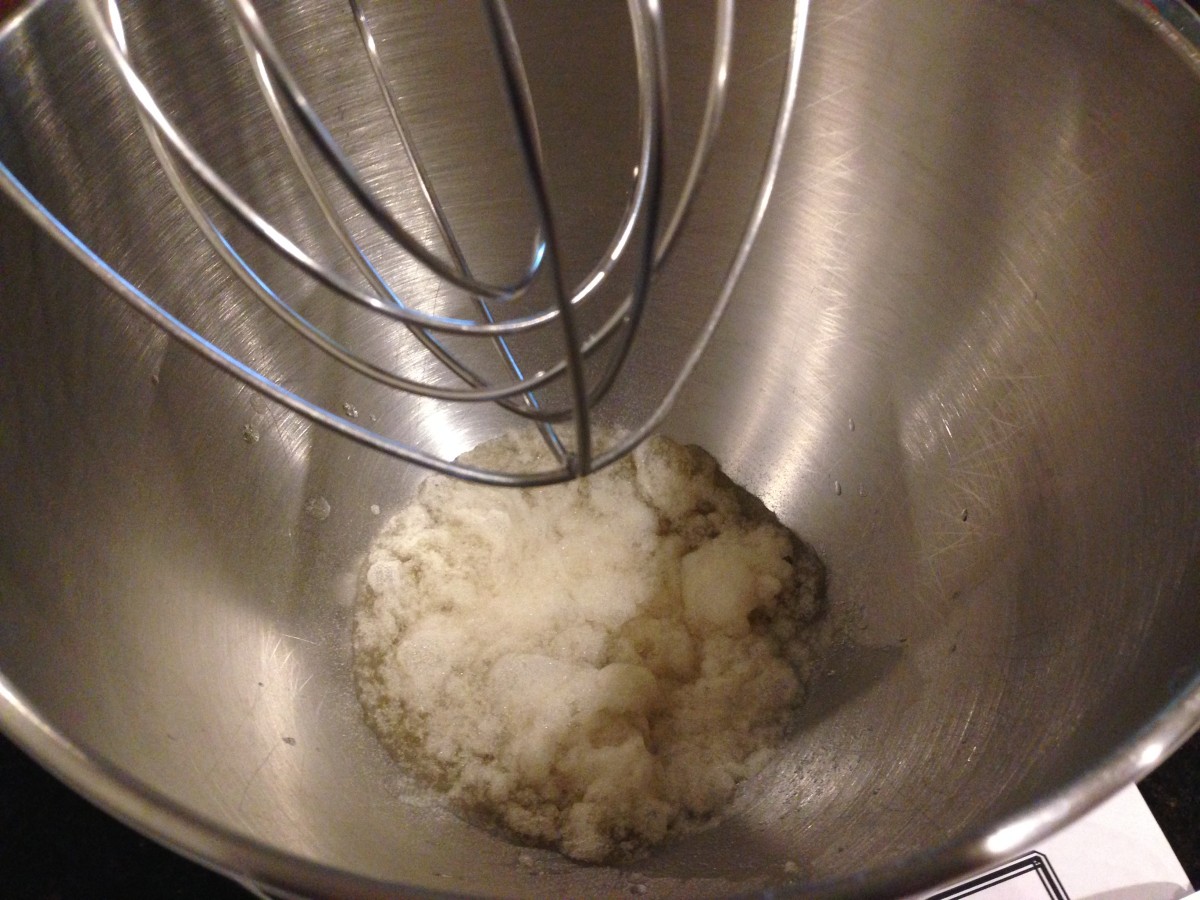
Place gelatin and 1/2 cup of chilled water into the bowl of a stand mixer fitted with the whisk attachment. Set aside.
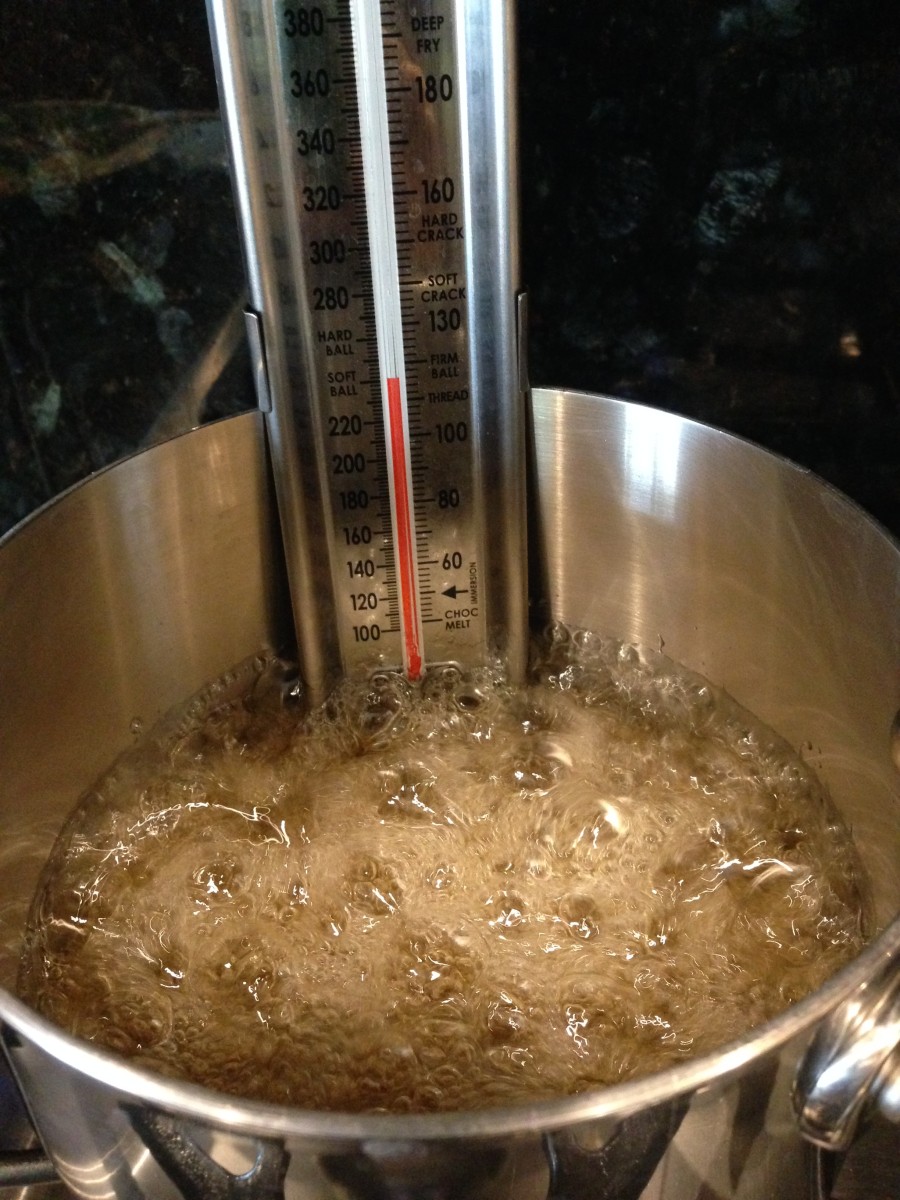
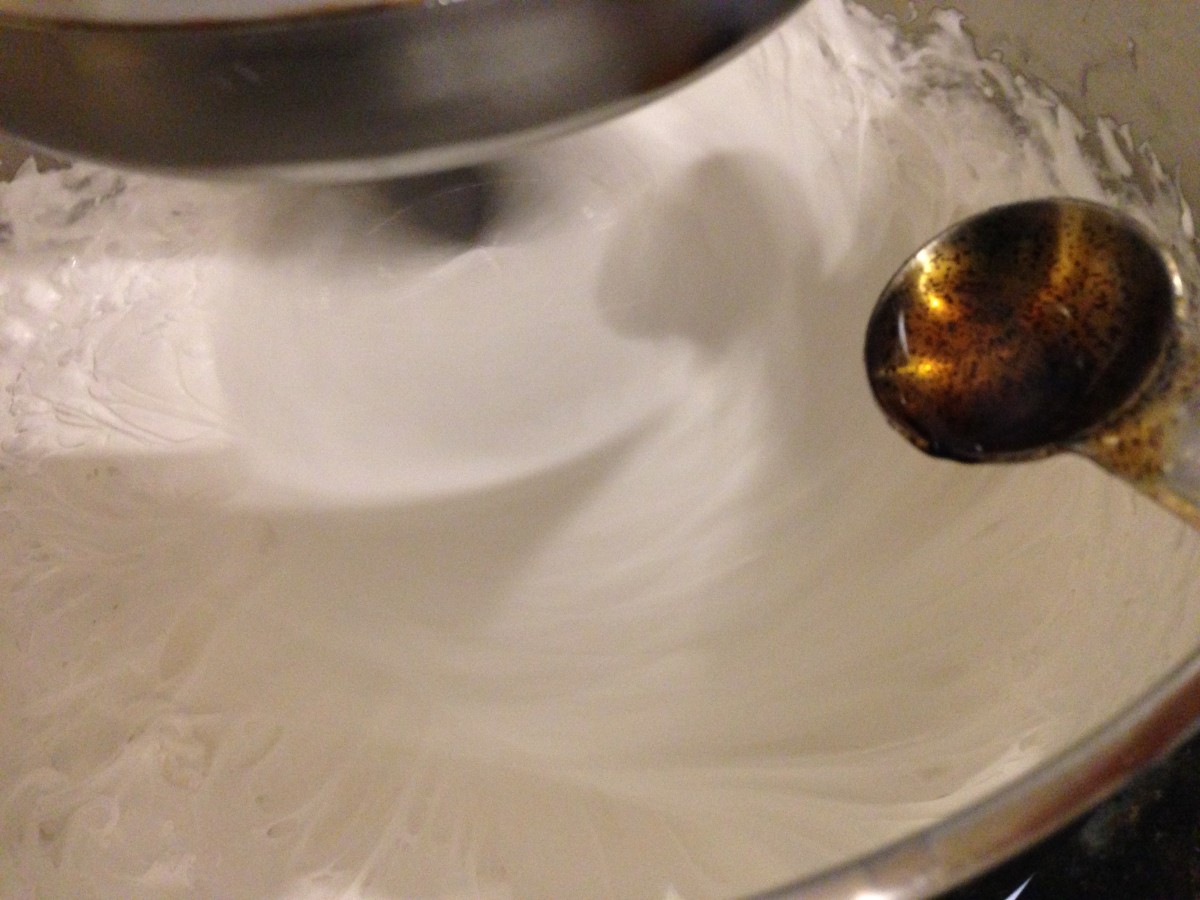
In a small saucepan with a candy thermometer attached, combine the remaining 1/2 cup water, sugar, glucose syrup, and salt. Place over medium-high heat and allow to cook until the mixture reaches 240 degrees F (soft ball stage), 6-10 minutes (keep an eye on it). Immediately remove from heat.
Note: This recipe really is foolproof if you use a candy thermometer, without it may not yield the same results.
Note: Alton’s recipe says to cover for 3-4 minutes, then uncover and continue to cook. I did not do that since I used glucose syrup, which does not crystallize like corn syrup. If you are using corn syrup, you will need to cover for a few minutes. The idea behind covering the sugar in the initial cooking is to form steam droplets to drip down the sides of the saucepan to help prevent sugar from crystallizing.
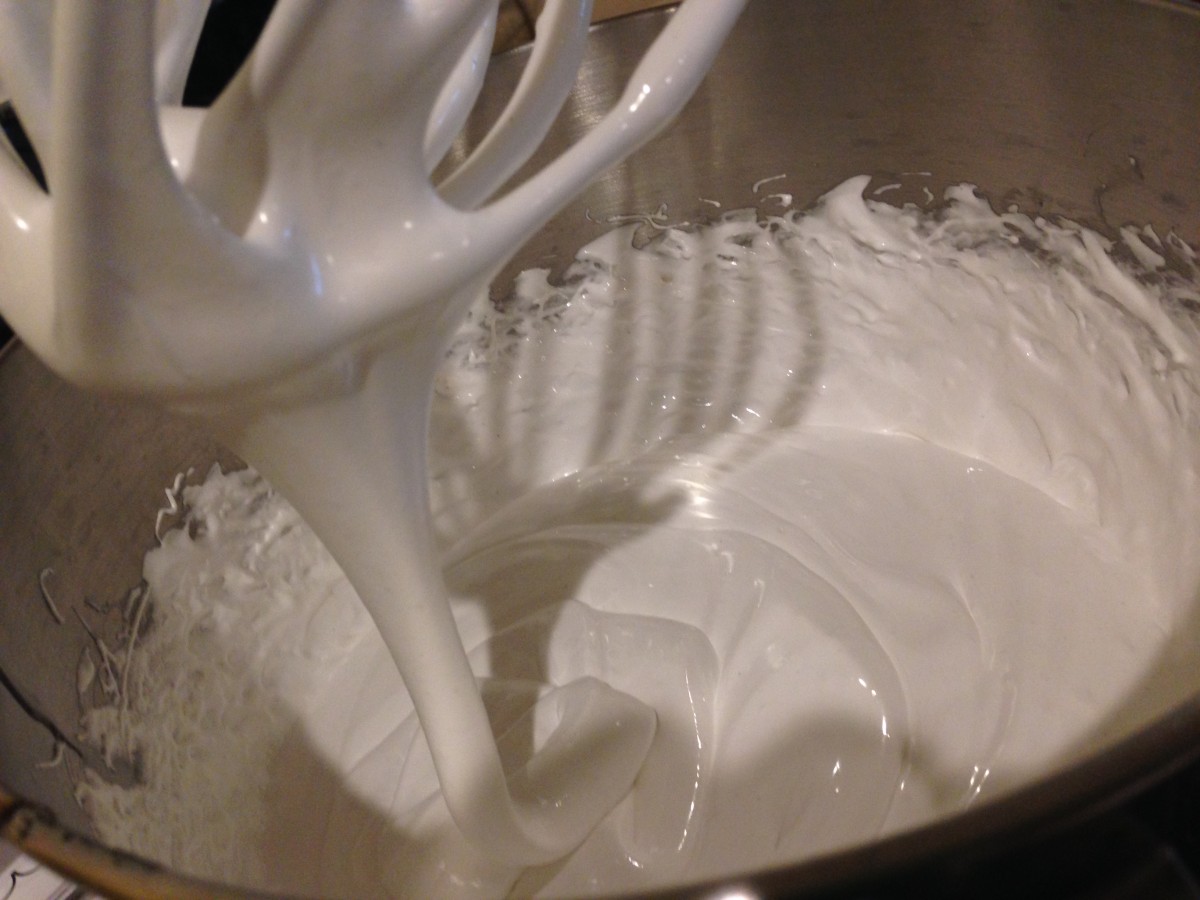
Turn the mixer on low speed and, while the mixer is running, slowly pour the sugar mixture down the side of the bowl into the gelatin mixture. DO NOT let the syrup touch the whisk. Once you have added all of the syrup, increase the speed to high. Continue to whip until the mixture becomes very thick and is now warm, approximately 18 minutes.
This is after 4 minutes …
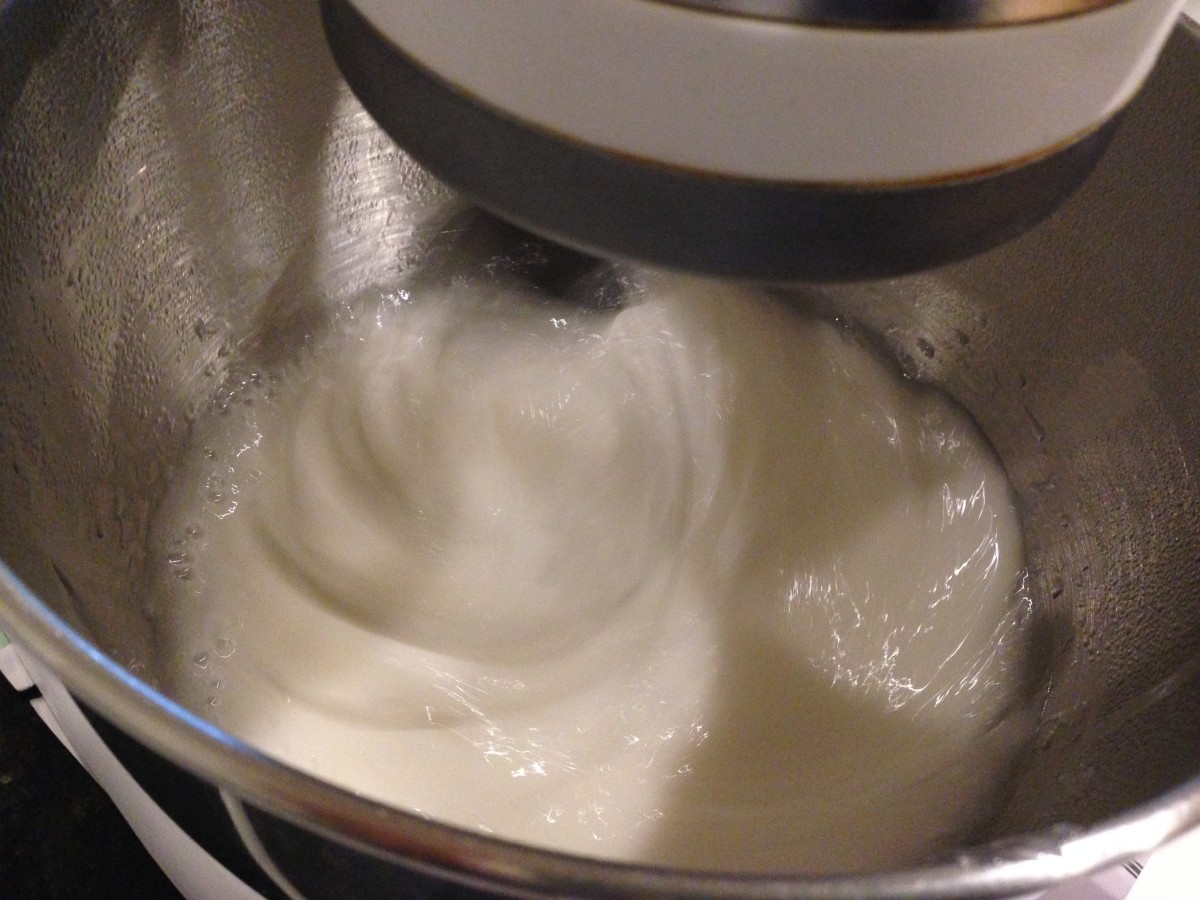
After 10 minutes …
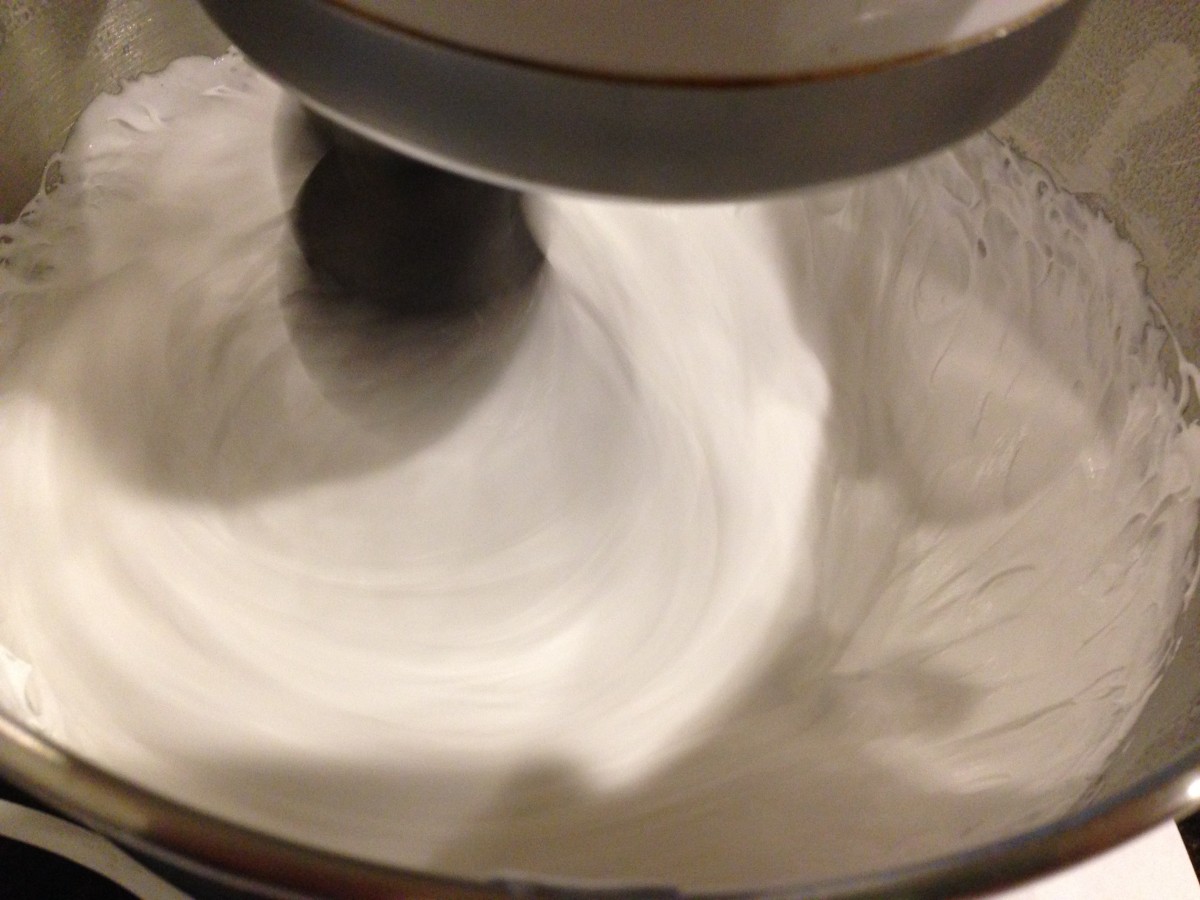
After 18 minutes …
Add the peppermint and vanilla extracts during the last minute of whipping. While the mixture is whipping prepare a large rectangular or square baking dish as follows.
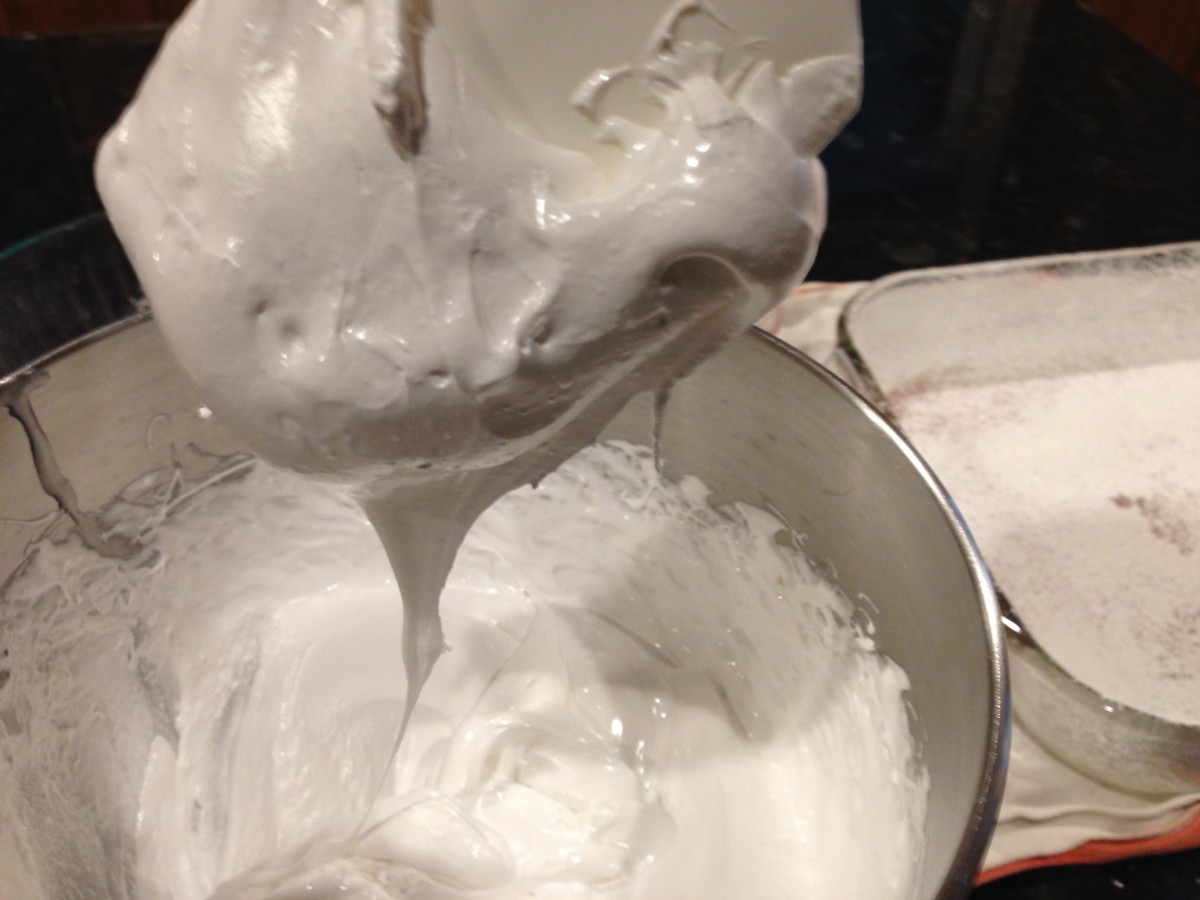
Note: Alton’s recipe say to mix until lukewarm, about 12-15 minutes, my stand mixer did not get to lukewarm temperature. It was more warmer than lukewarm, and did not look ready to me at the 12-15 minute mark, so I let it run 3-4 more minutes until thick and slow to drip off the whisk.
This stuff is very sticky. I scooped it out with a rubber spatula, then used a knife (the dull side) to scrape it off the spatula.
For regular marshmallows:
Note: This can get very messy with powdered sugar getting on everything so make sure to wear an apron and machine washable clothing.
Combine the confectioners’ sugar and tapioca starch in a small bowl.
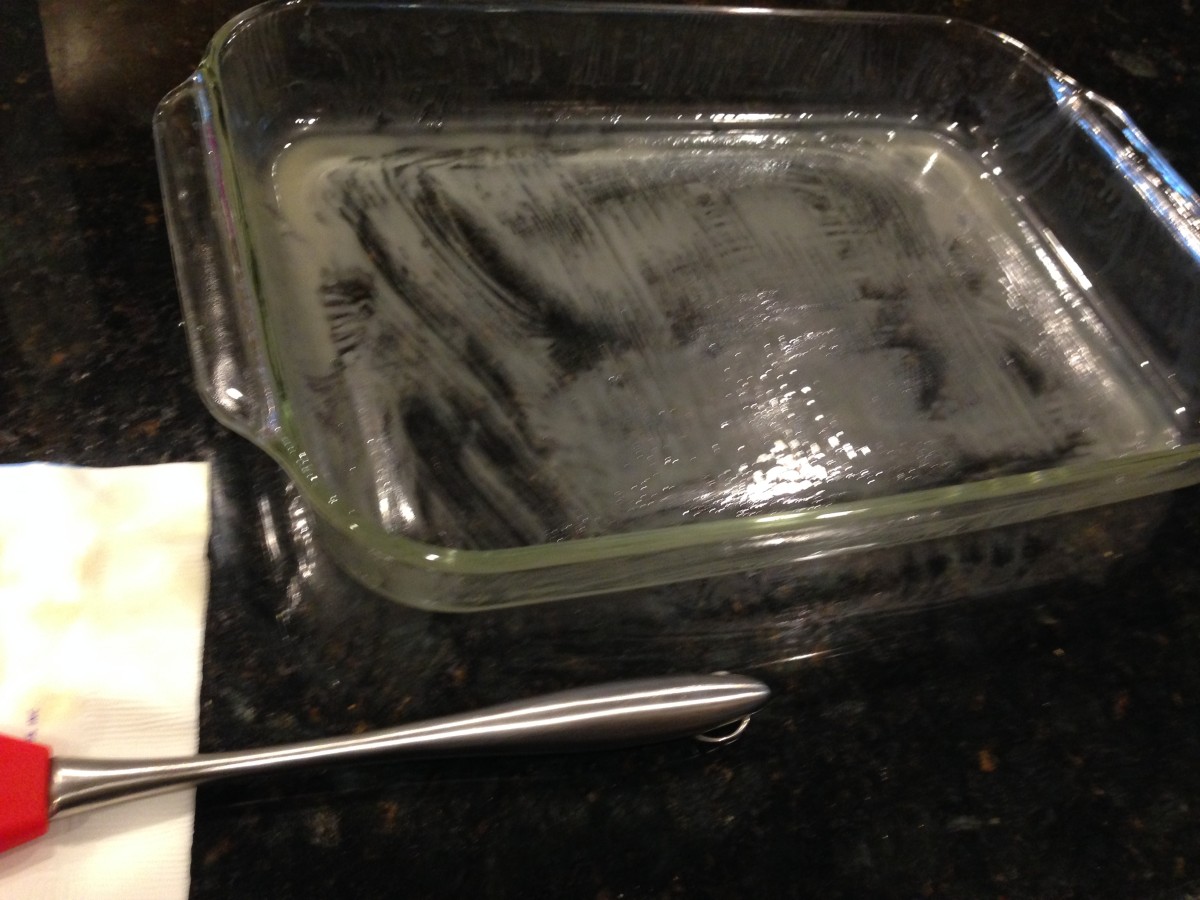
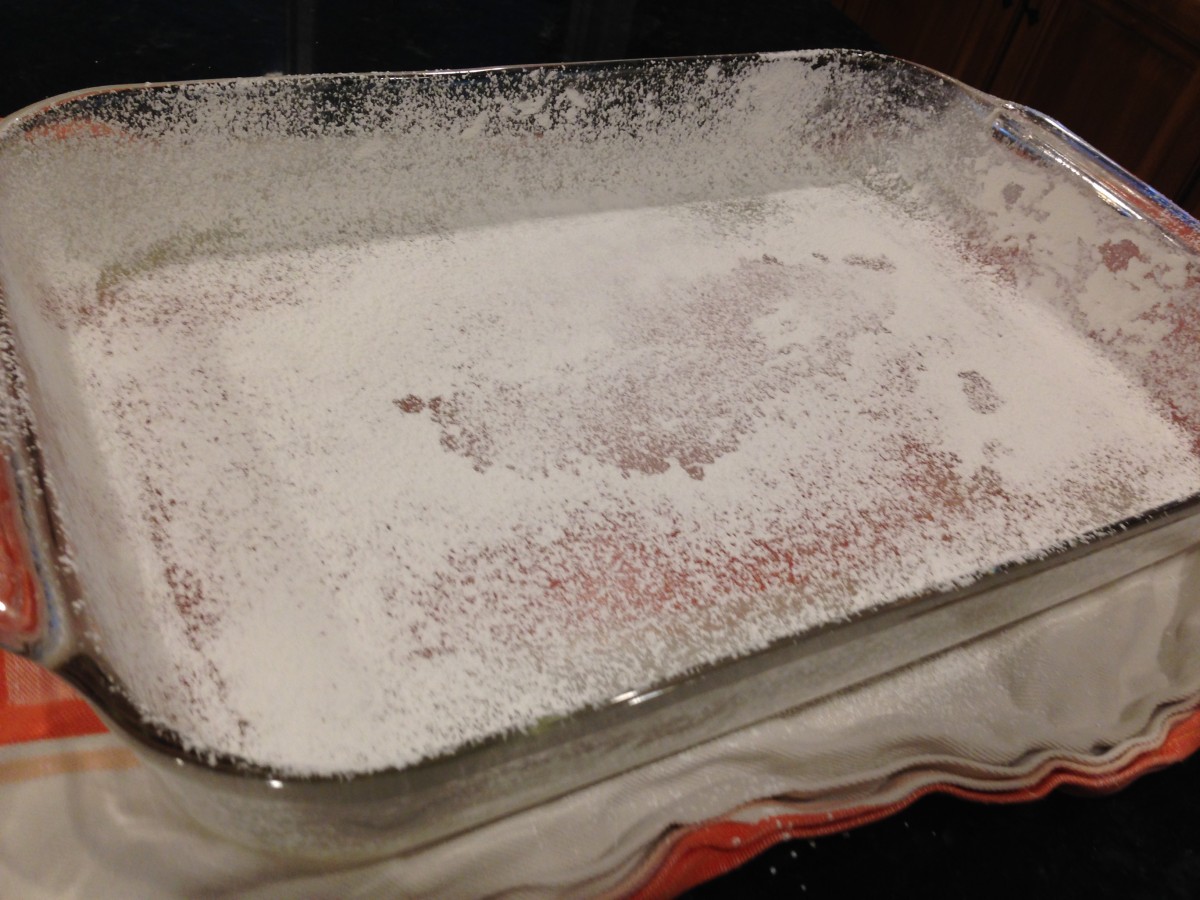
Lightly coat a 13 by 9-inch baking pan with melted coconut oil using a silicone brush, or by hand.
Note: I used a smaller baking dish for an earlier batch and found it to be more difficult to pull out because it was touching all the edges of the dish. I also didn’t coat the pan as well as this time so I’m not sure if it was too snug in the dish or not enough powdered sugar. I found the larger dish produced more uneven pieces (from the edges) but so much easier to work with. You decide which is more important to you.
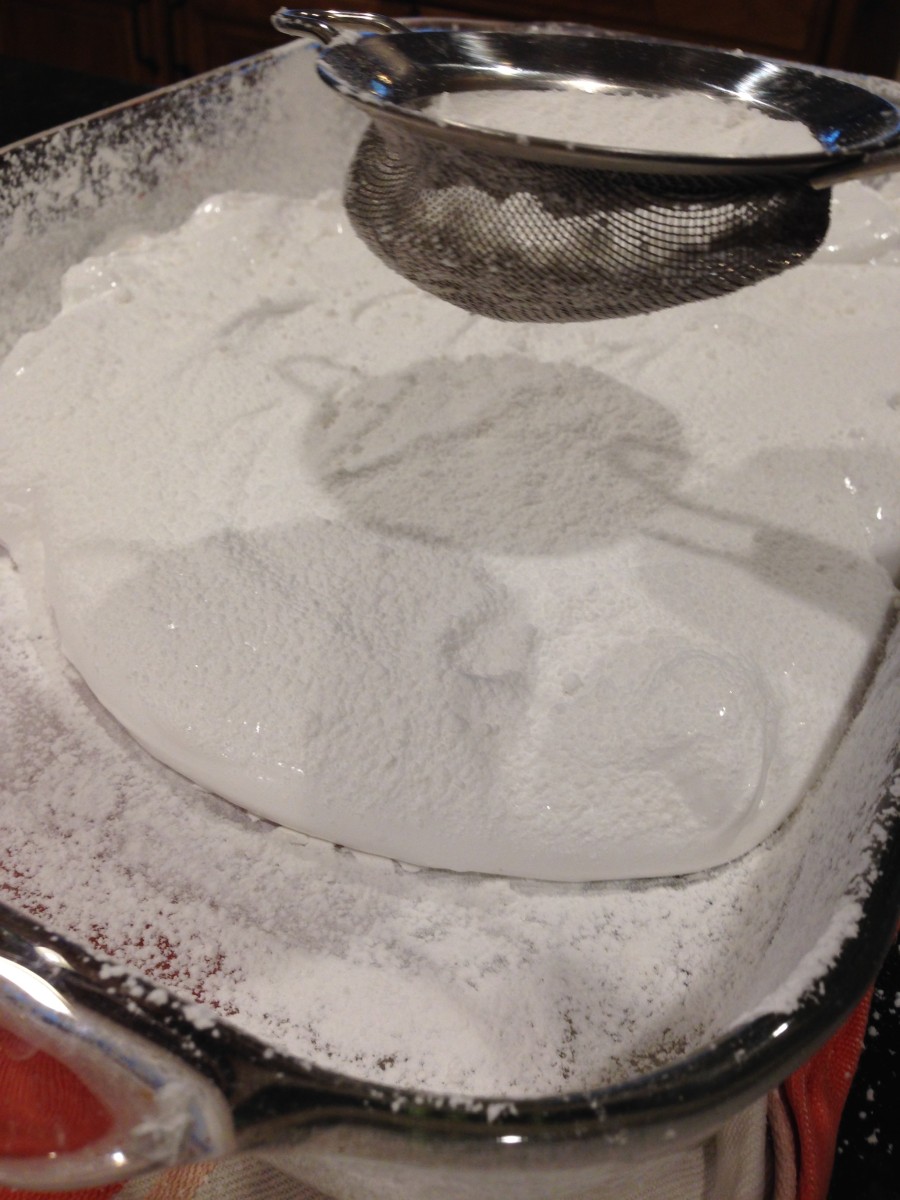
Add the sugar and tapioca starch mixture using a sifter. Move around to completely coat the bottom and sides of the pan. Return the remaining mixture to the bowl for later use.
Pour the mixture into the prepared pan with a rubber spatula. Do not use a wooden spoon, it will just stick to the spoon and not transfer well.
Note: The key to smoothing out the sticky marshmallow is to use an oiled offset spatula.
Dust the top with enough of the remaining powdered sugar mixture to lightly cover. Reserve the rest for later. Allow the marshmallows to sit uncovered for at least 6 hours, up to overnight (mine sit for 12 hours).

Cut into 1-inch squares. Don’t worry about making perfect squares. Remember, these are homemade, so please do not stress over perfect squares.
Perfect is not necessary. Pillowy soft bites of minty marshmallows that taste heavenly IS necessary and we have that covered 🙂
Note: Alton’s recipe said to use a pizza wheel, I used a sharp non-serrated steak knife that I rinsed with hot water then dipped into the powdered sugar mixture after every row I cut. I made another batch after this one as a vanilla marshmallow for s’mores and used a pizza wheel to cut squares, it cut much faster and less messy.
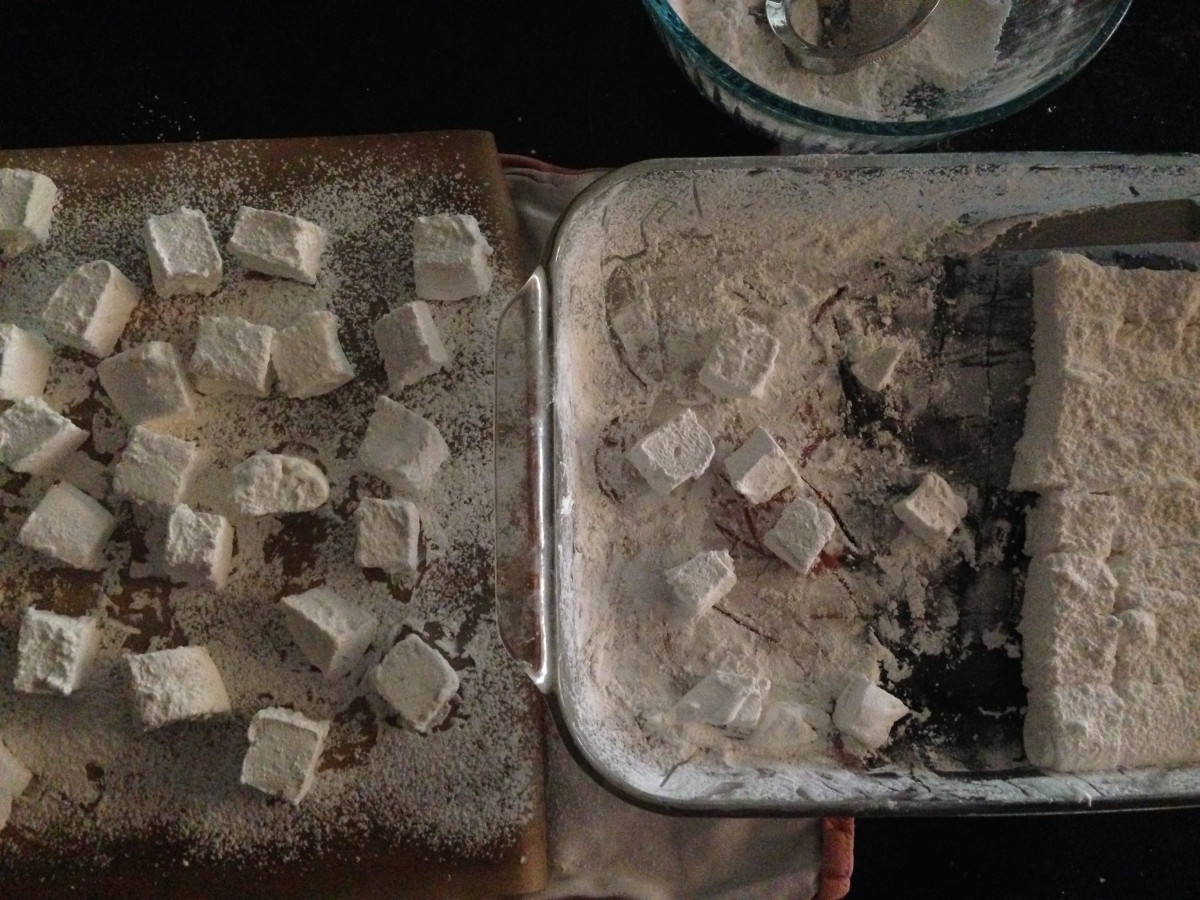
Once cut, lightly dust all sides of each marshmallow with the remaining mixture, using additional if necessary.
Store in an airtight container for up to 3 weeks.
I cannot say it enough, store bought marshmallows are NOTHING like homemade. So worth the extra time. These took me about 30 minutes to make then left overnight, and 15 minutes to cut and coat with extra powdered sugar.

For miniature marshmallows:
Note: It just seemed too messy to make mini marshmallows, and possibly waste some by having it stick in the pastry bag so I left mine as squares. If you have more time and would like to give it a try, here is how …
Combine the confectioners’ sugar and tapioca starch in a small bowl. Line 4 half sheet pans with parchment paper, spray the paper with nonstick cooking spray (or rub with coconut oil if soy intolerant) and dust with the confectioners’ sugar mixture.
Scoop the mixture into a piping bag fitted with a 1/2-inch round piping tip. Pipe the mixture onto the prepared sheet pans lengthwise, leaving about 1-inch between each strip. Sprinkle the tops with enough of the remaining powdered mixture to lightly cover. Let the strips set for 4 hours or up to overnight.
Cut into 1/2 inch pieces using a pizza wheel or scissors dusted with the confectioners’ sugar mixture. Once cut, lightly dust all sides of each marshmallow with the remaining sugar mixture and store in an airtight container for up to a week.
For the glaze:
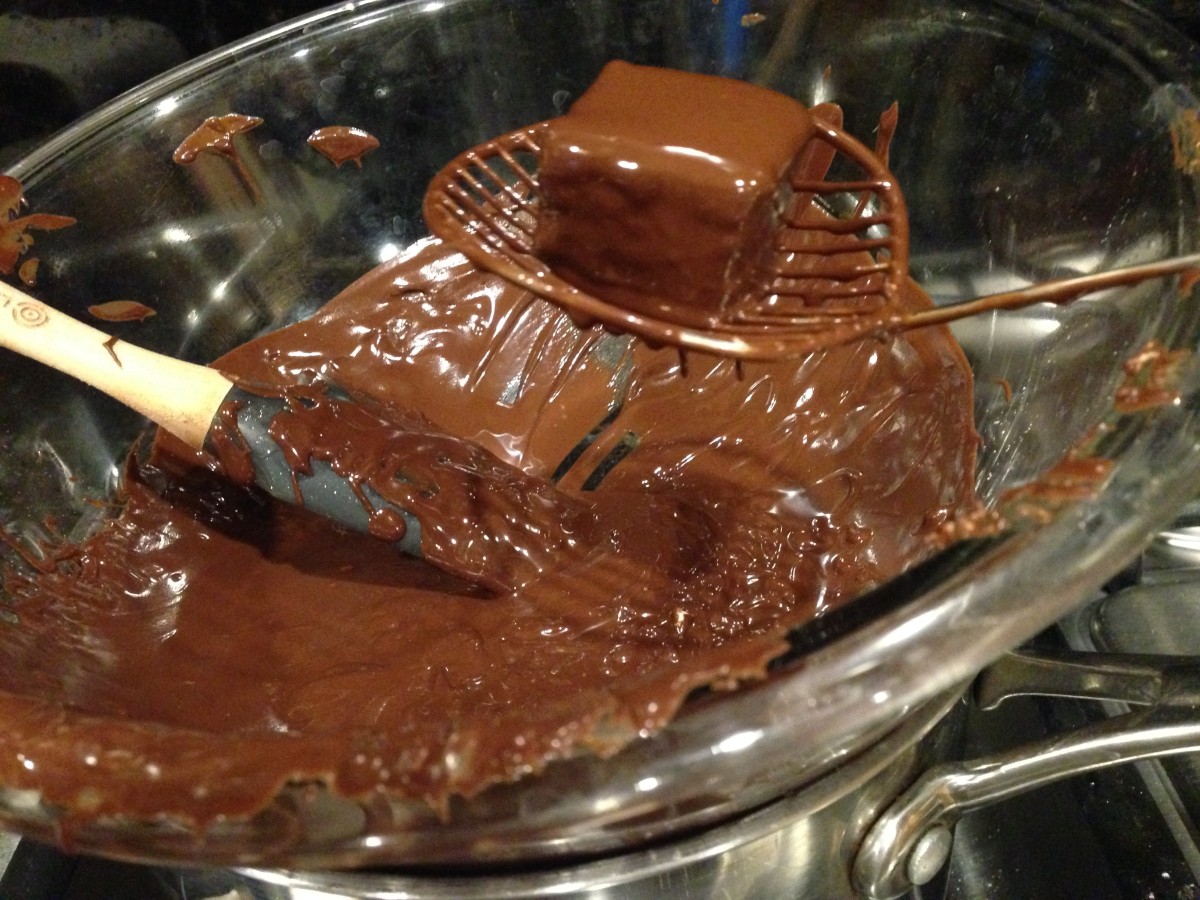
Place a medium saucepan, filled 1/3 of the way, over medium heat. Place a large glass, or heatproof bowl over the saucepan making sure the water does not touch the bowl. Add chocolate chips to the bowl, stirring occasionally. When nearly melted, about 5 minutes, add 2 drops of peppermint extract, stir. Turn off heat and let it cool for 30-45 minutes before using or it will soften the marshmallows and change texture.
When ready shake off any excess powdered sugar off a marshmallow square, place on a chocolate dipping tool (sold in craft stores like Michael’s) and pour melted chocolate over to fully coat. Gently tap off any excess chocolate, and place on a cooling rack set over a sheet pan (or plastic wrap on the counter to catch spills). To do so, use a butter knife or small frosting spatula to lift over the dipping tool and onto the cooling rack.
Meanwhile, crush a candy cane in a mini food processor, or place in a sandwich sized sealed plastic bag and pound on it using the back of a spoon.
Garnish with some crushed candy cane on top.
Note: Do not crush the candy cane ahead of time. I did and it stuck into one big sticky mass. I had to break it up with a fork so crush just before garnishing. Best eaten within 3 days.
If they will last that long …
Don't miss a recipe! Subscribe here.

Comments