I love kimchi for a couple of reasons: one that it lends a vibrant flavor to foods like pizza, hash, fried rice, burgers, bibimbap (recipe coming soon) and soup (think soup is my next kimchi recipe) … or even straight out of the jar because that big, beautiful jar of kimchi is staring right at you when you open the fridge. Or is that just me?
Secondly, it has a ridiculous amount of probiotics. You know, that stuff that you need to populate your gut otherwise your immune system gets all beat up. Yes, that stuff. Probiotics are SO, SO important to stay healthy (click here to read more on that). You can take it in capsule form but this is way better.
Since fermented foods like kimchi are so good for the gut, I usually have some sitting in the fridge that I will give the kids with avocado or eggs for breakfast. They love it, but they also love sauerkraut. If you have kids that may not be too keen on trying kimchi, try my sweet potato hash recipe (see recipe here) or add it into a veggie patty. It’s also delicious in a baked sweet potato with black beans, coconut yogurt, and chives.
If you have bought kimchi before you know it’s not cheap. And with that I decided enough was enough, it’s time to face my kimchi-making fear and make it at home! So I traveled the web for a kimchi recipe and went from there. For what I pay for a small jar I ended up making over half a gallon! Not as convenient as store-bought (you do need to dedicate a few hours for this), but certainly well worth it.
Had I known it was this easy I would have made it ages ago – I thought there was some complicated science to making this stuff – it’s actually quite simple with a little patience. If you love kimchi try this homemade recipe and let me know what recipe you add it to. I’d love to hear what’s going on in your kitchen!
Enjoy!

Adapted Recipe from Blogger Maangchi (see here for original recipe)
Makes about 3 quarts
Total Time: 3 hours
Active Time: 1 hour
Note (s): This is a moderate-heat kimchi. For less spice reduce hot pepper flakes by 1/4 cup and ginger by a tablespoon. I omitted the traditional carrots, if you would like to add carrots see the original recipe for amount.
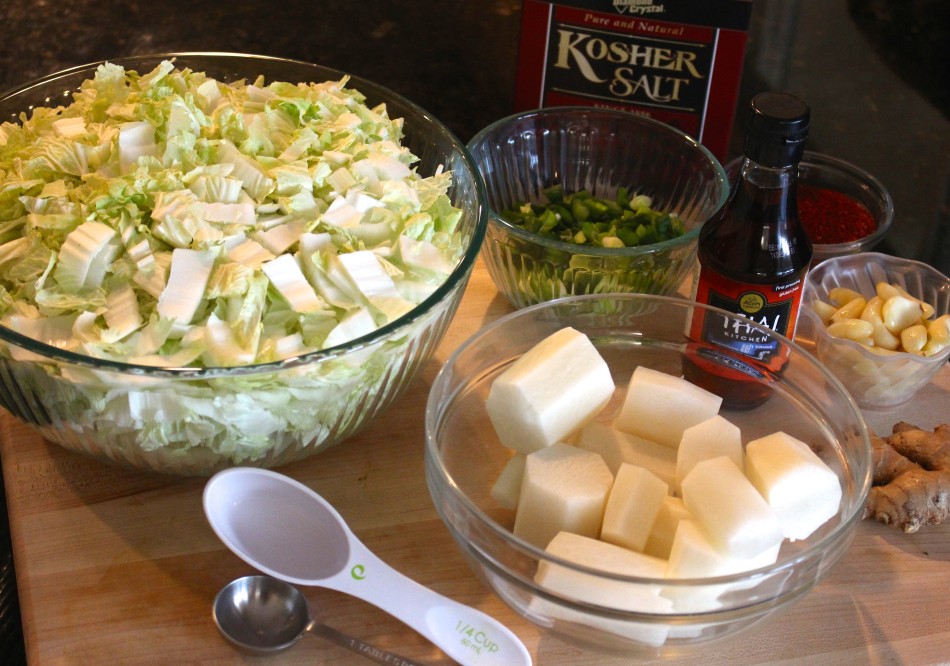
Ingredients:
For salting cabbage:
3 pounds napa cabbage (2 medium heads)
1/4 cup plus 1 tablespoon kosher salt
After salting:
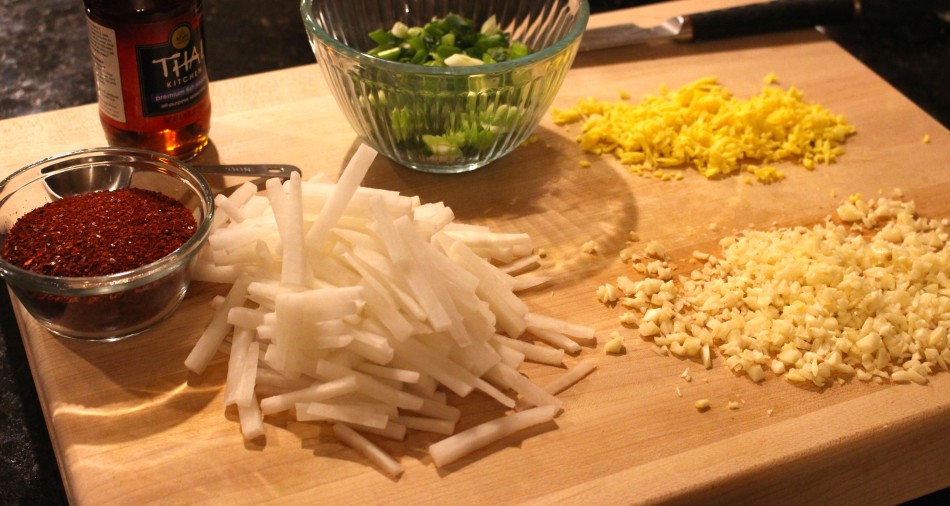
1/4 cup garlic cloves, peeled and minced
3 tablespoons ginger, peeled and minced
1/4 cup gf fish sauce (I use Thai Kitchen)
3/4 cup gochugaru (hot pepper flakes), buy here
4-5 scallions (green onions), ends trimmed, sliced crosswise 1/2 inch thick
1 large daikon, peeled and cut into matchsticks (see how-to)
1 tablespoon cane or palm sugar
For a vegan option: substitute fish sauce for red miso, if soy tolerant, or leave out.
Preparation:
Trim the end of the cabbages and rinse. Cut the cabbage in half, lengthwise, then cut crosswise in 1 inch thick slices. Transfer to a large bowl. Sprinkle kosher salt on cabbage and “massage” the salt into the cabbage. Directly cover with a dinner plate or something that will fit snug to apply pressure to the cabbage.
Note: Kosher salt works best. I find sea salt makes the kimchi taste too salty.
Let it sit for 2 hours. Turn over after an hour or so to salt the cabbage well. Meanwhile, prepare the remaining ingredients.
Drain the released liquid into a small bowl, and set aside. Do not discard. Transfer the drained cabbage into a strainer (keep the original bowl) and rinse a few times under cold running water. Add it back to the original bowl.
In another small bowl (last bowl!) combine garlic, ginger, fish sauce, and gochugaru; mix well to form a paste. Add sugar and 1 cup of drained liquid, mix well. Add daikon and scallions to combine. 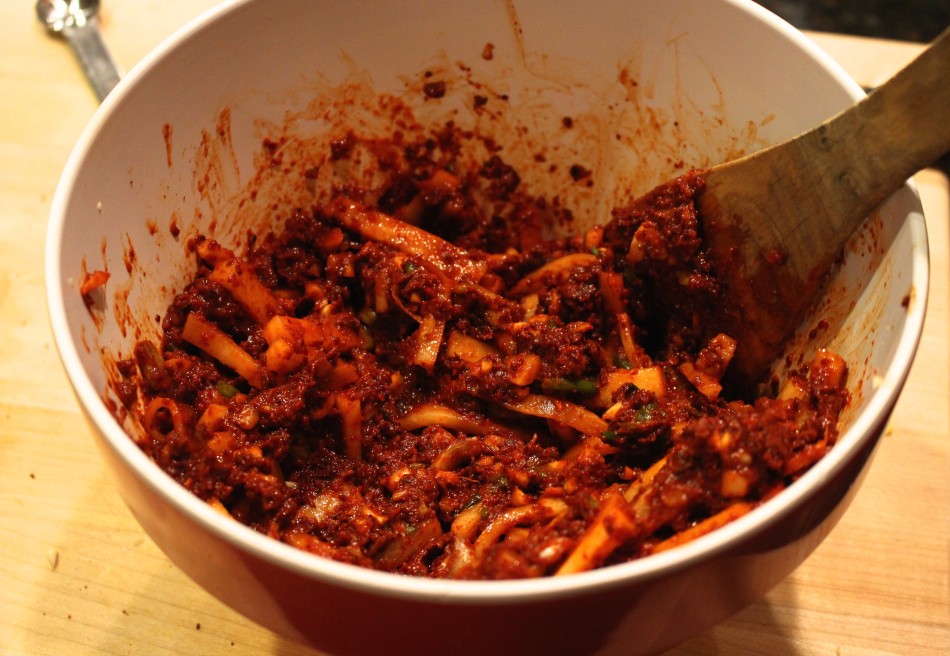
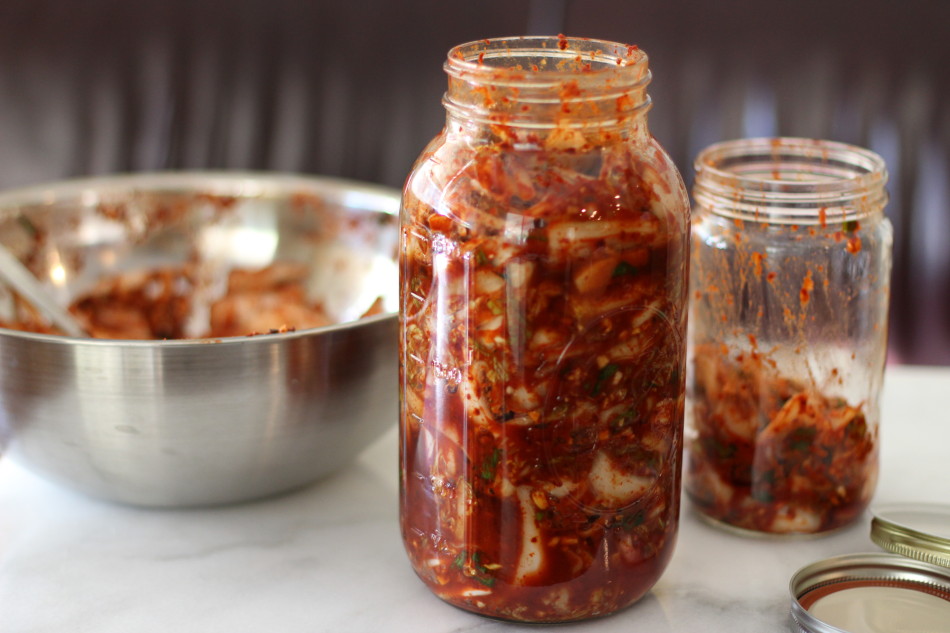
Then add the cabbage and “massage” all the ingredients, making sure to fully coat the cabbage, scallions, and daikon. Transfer into clean a half-gallon size and a quart sized glass container (like Ball jars). Seal tightly with lid and let it sit at room temperature for a day or two. Then loosen the lid (just a bit) the next day.
Note: The next day you may see bubbling once you loosen the lid, that means it’s fermenting, if not tighten the lid again and check the next day. I kept it out for 2 days since room temperature was about 72 degrees and dry; if warmer and humid refrigerate after one day.
Once it has started to ferment, store in the fridge and use as needed. Refrigeration will slow down the fermentation process, and make the kimchi more and more sour (with more heat) as time goes on.
Will store well in the refrigerator for 2 months.
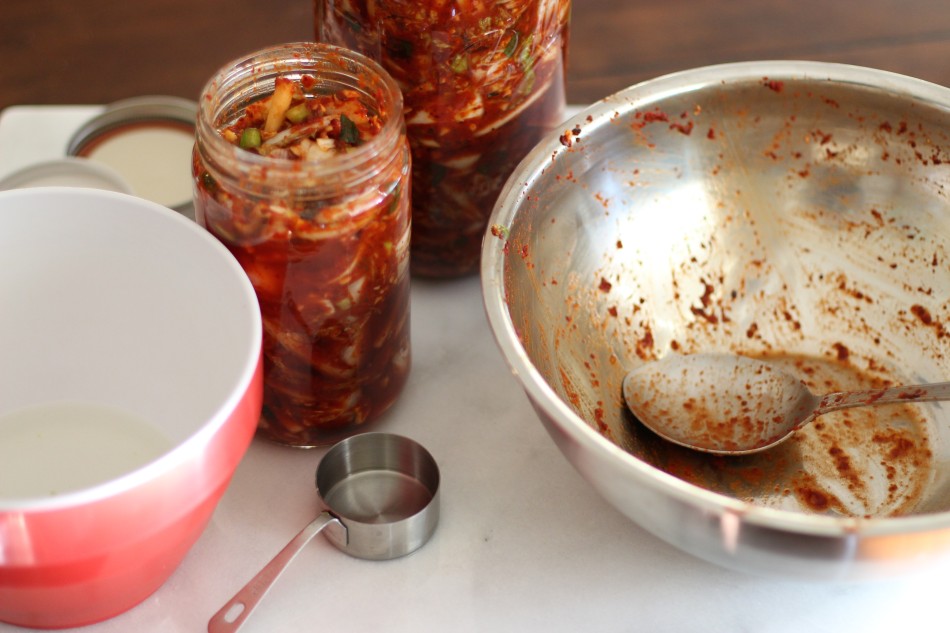
Full disclosure: Photos below are from another batch (didn’t take photos after mixing ingredients on the last batch) and forgot to take prep photos for the batch below! Oops! But you get the idea 🙂
Don't miss a recipe! Subscribe here.

Comments